LEARN (WATCH) THE Dirty Little SECRET Baluster MANUFACTURERS NEGLECT TO MENTION...
GET READY TO SMILE - A LOT - WHEN YOU USE SNAP'N LOCK™ BALUSTERS
Snap' n Lock™ Balusters radically change the way DIYers & Builders install balusters and here's why...
plug style baluster systems are a hassle to use
If you have ever used a vertical plug style baluster system to build deck railings you know firsthand the fight and hassle they are to install.
Lining up fifteen loose fitting, dangling, balusters so they perfectly and simultaneously fit into the plugs on the upper 2x4 rail can be an absolute nightmare! That is exactly why I designed the Snap'n Lock™ baluster system.
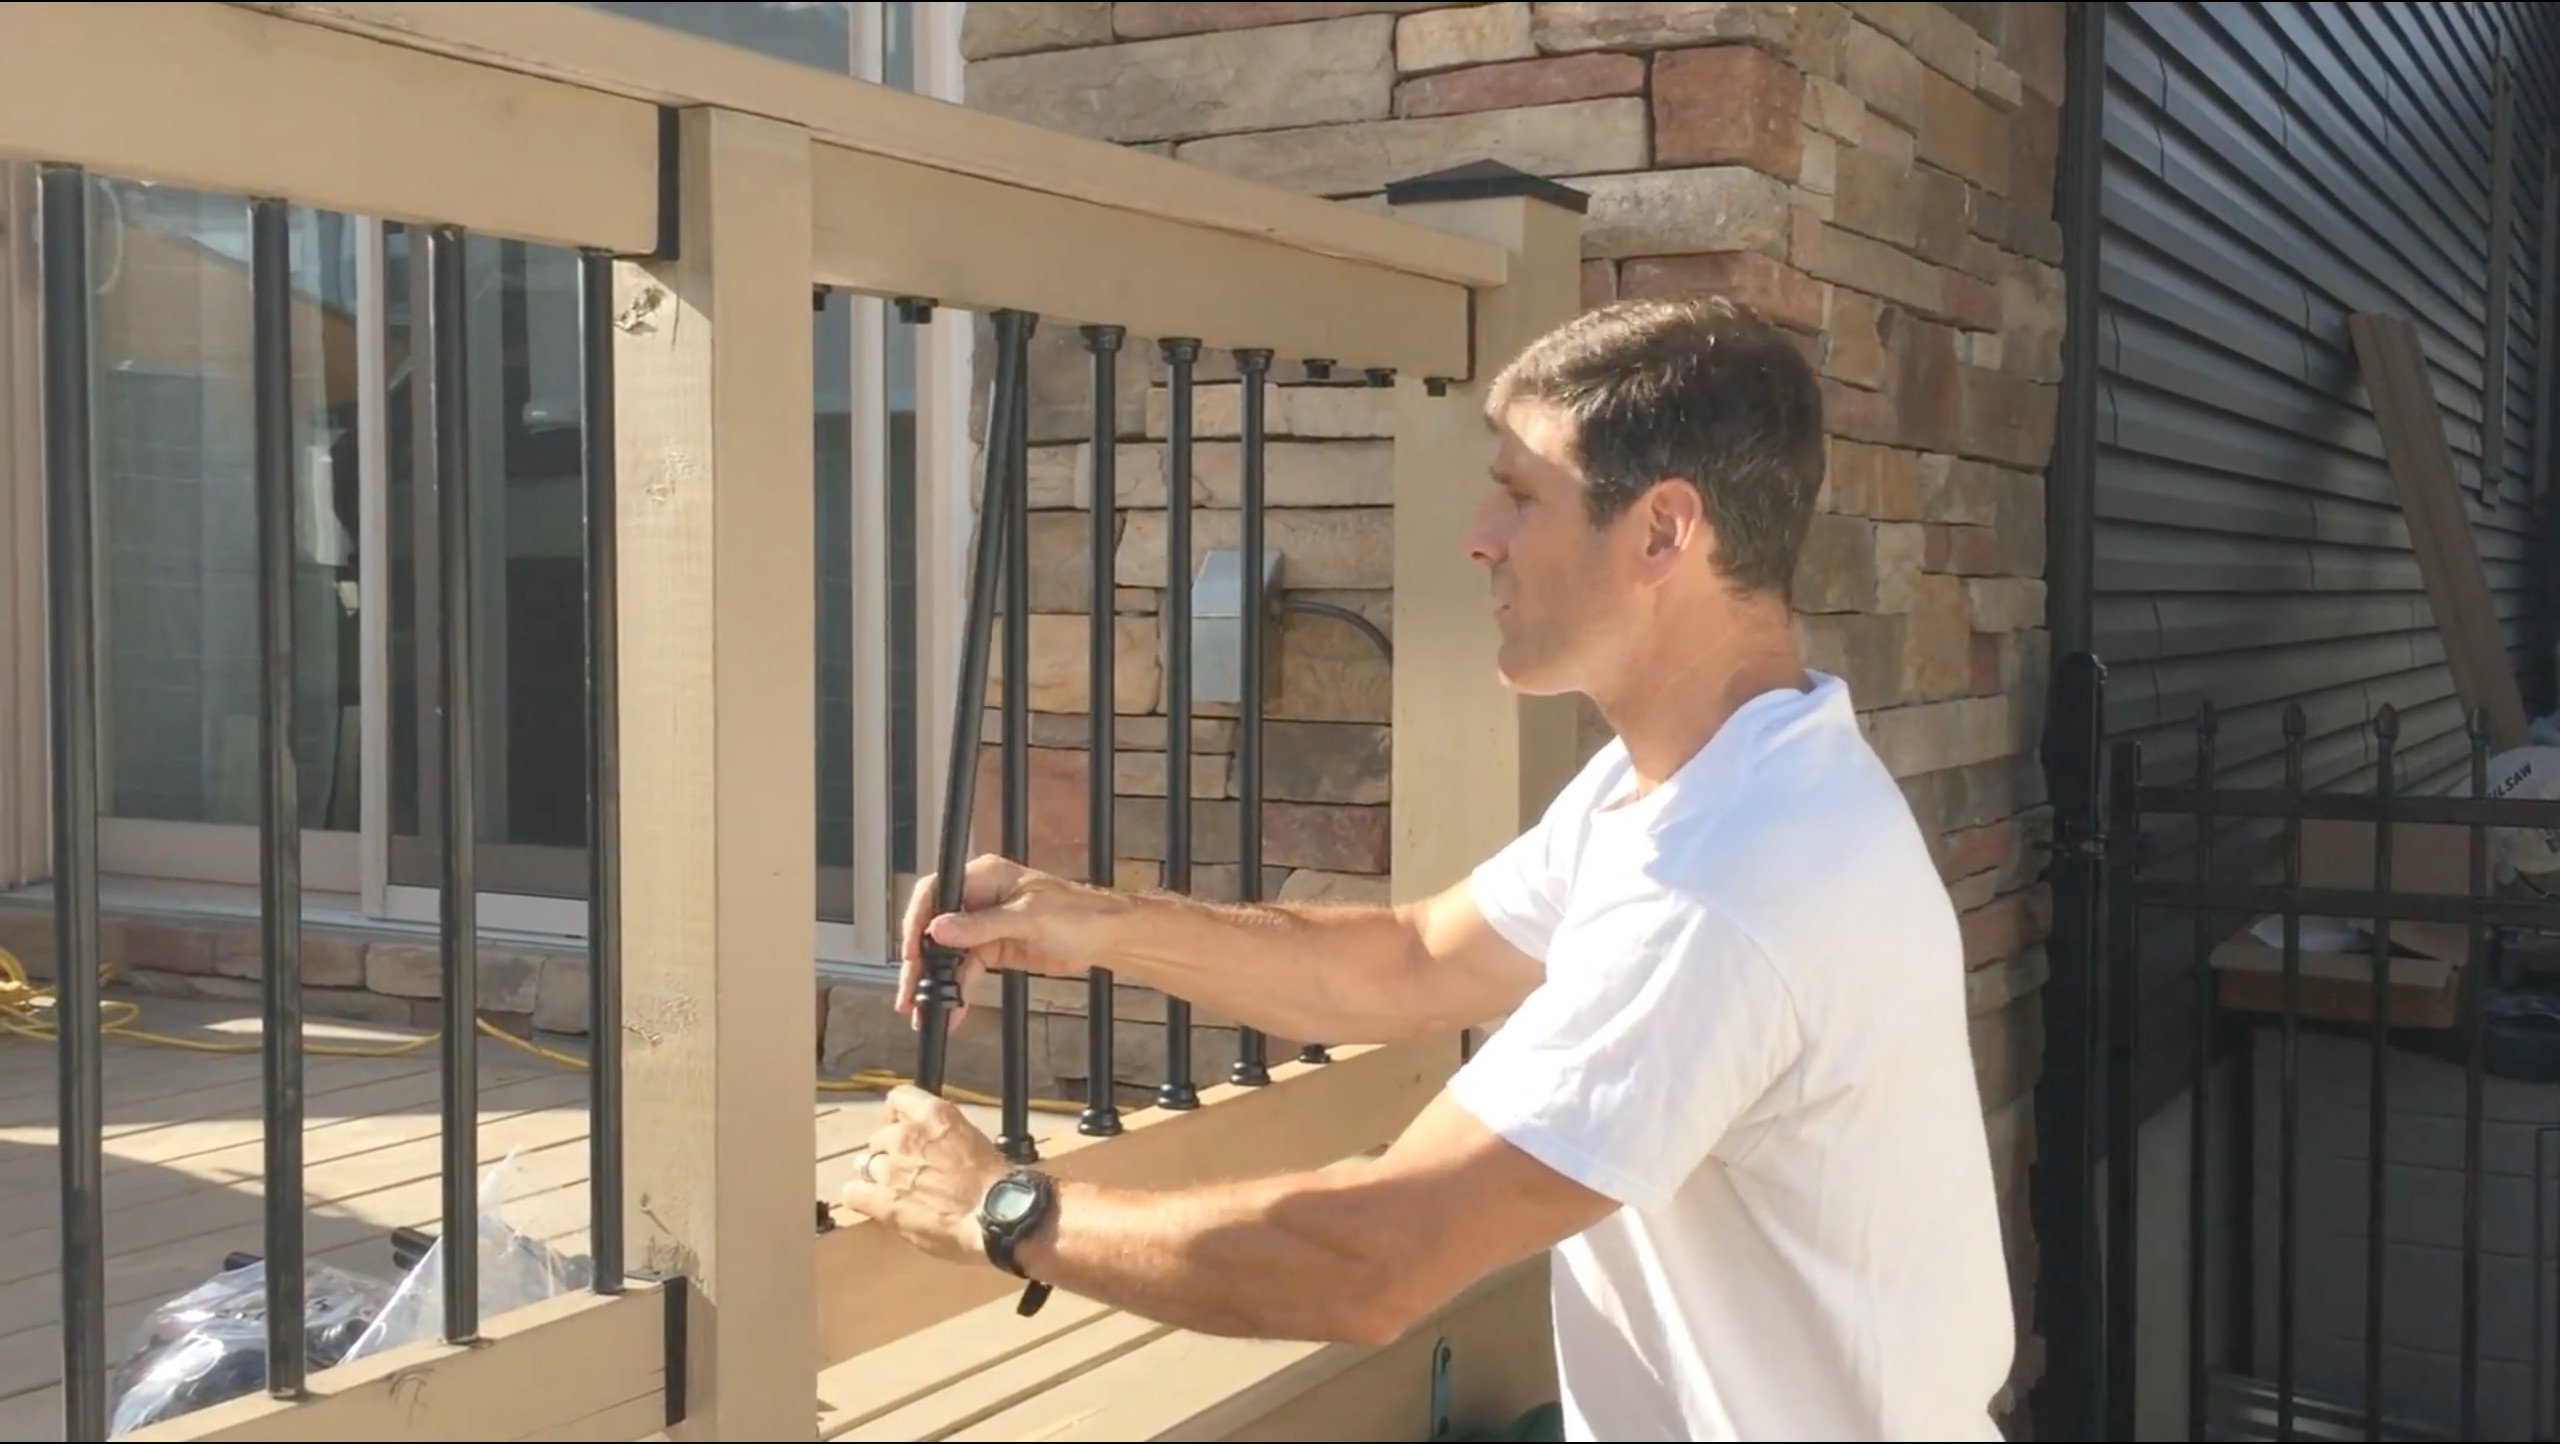
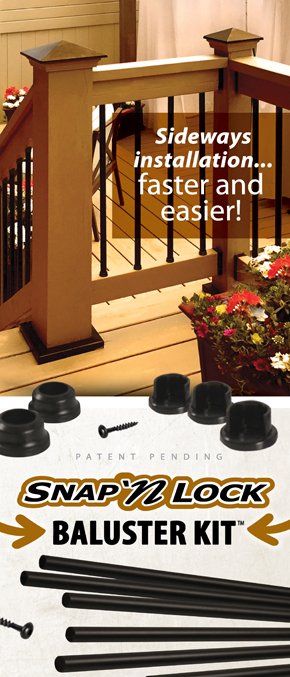
With the patented sideway installation method even a beginner with minimal skill can install deck railing balusters faster, easier and all by themselves.
Read on to understand how the various types of baluster connectors work.
Plug Style baluster connectors
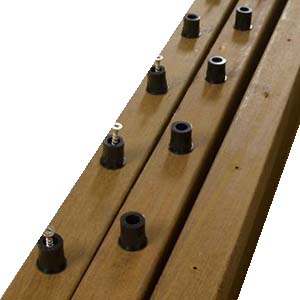
Plug style or traditional baluster connectors come with plugs that screw on to the top and bottom 2x4 rail and the hollow baluster is designed to slip over the plug.
There are variations of this concept, and some have concentric horizontal ribbing to grip the baluster.
In both cases you have to push the baluster down on to the plug and it fits inside the tube and then align all the balusters before securing the final rail.
pre-drilled 2x4 baluster Connectors
With the pre-drilled baluster system you can bore the holes yourself or sometimes you can buy the 2x4 pre-drilled rail.
In either case, it is relatively easy to insert balusters into the connectors or bored holes of the lower 2x4 rail however, it becomes much more challenging and frustrating to simultaneously align a dozen or more dangling balusters into plugs or holes on the underside of the upper 2x4 rail.
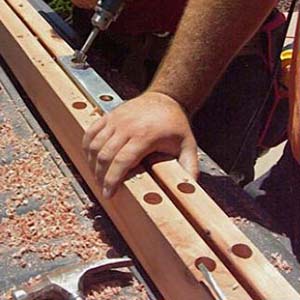
The Bottom LIne Is they are A Hassle to install
You need to lay everything out on a bench or a flat workspace just to be able to align all the balusters with the plugs or holes and then you need to manage the entire railing system with all the dangling balusters within the confined space of your posts!
Even then, it requires a lot of patience, and several tries to simultaneously get them all into the right place.
Or you can install the bottom deck rail, insert the balusters into the bottom plugs or holes and then try and align all the dangling balusters with the top rail while working within the confined space of the railing posts.
Trust me it's not easy. In fact, even professional builders typically need a helper a DIYer might even need two. Otherwise, by the time you install the first two or three balusters, they start to pop out as soon as you try to install the fifth or sixth baluster.
It's a fight not to mention finicky and frustrating work - like I said "a hassle to install."
thankfully... those days are over. now anyone can install balusters twice as fast With the SNAP'N LOCK™ balusters.
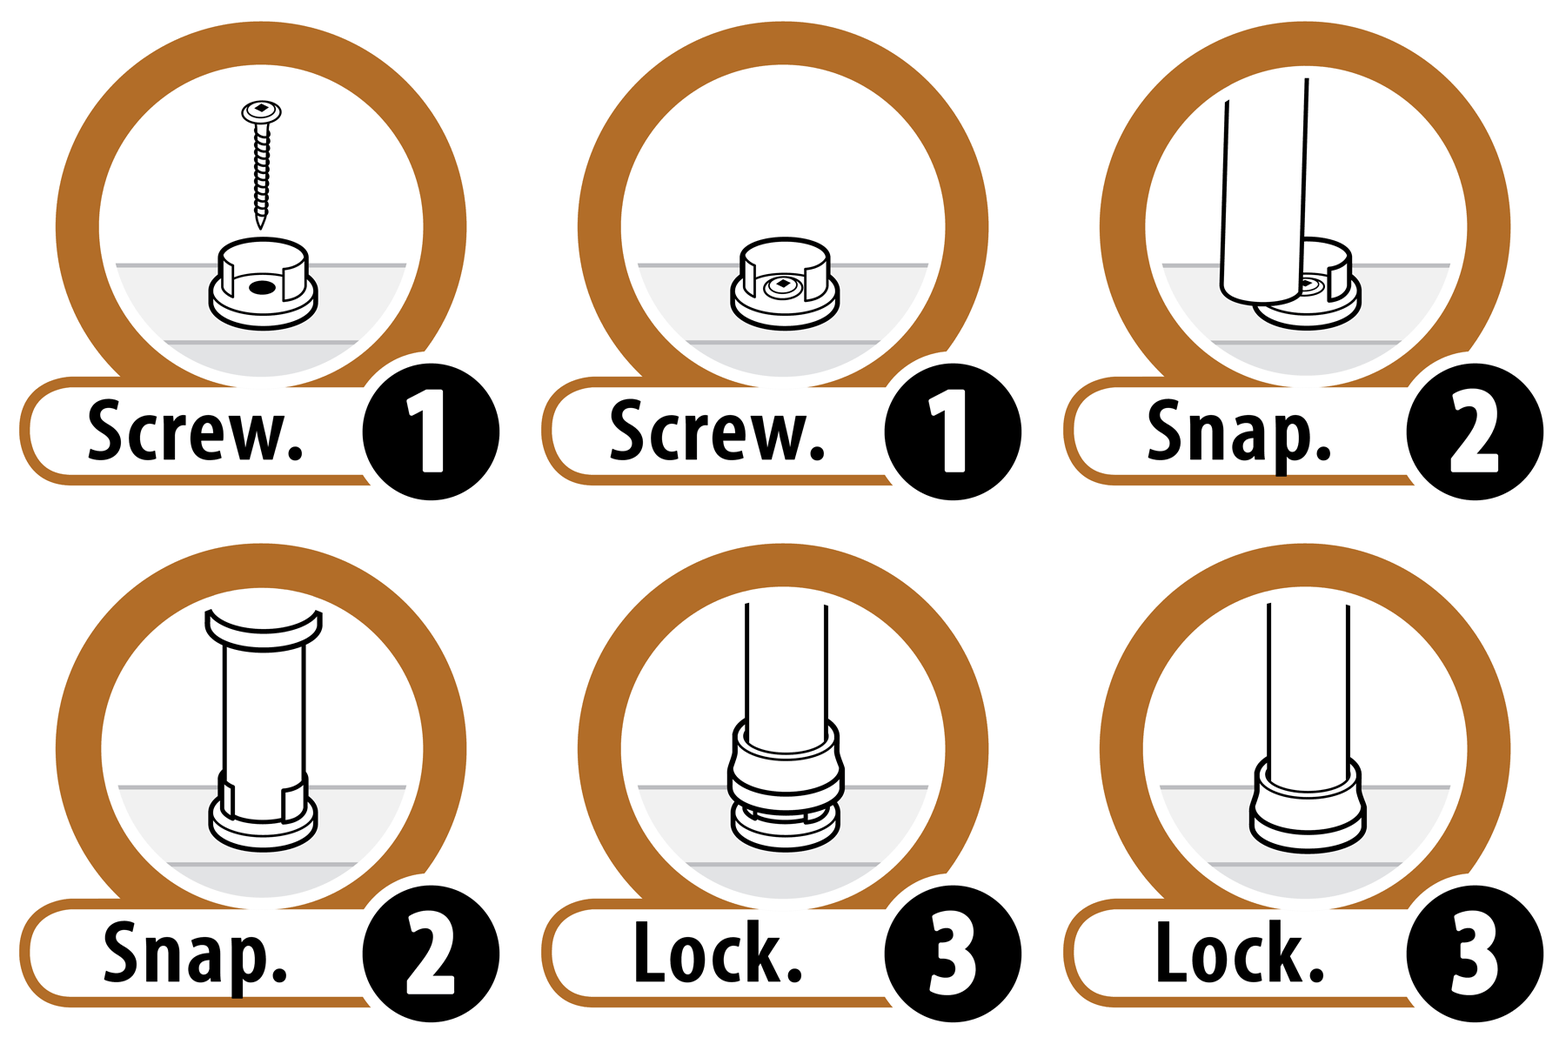
HERE IS HOW IT WORKS
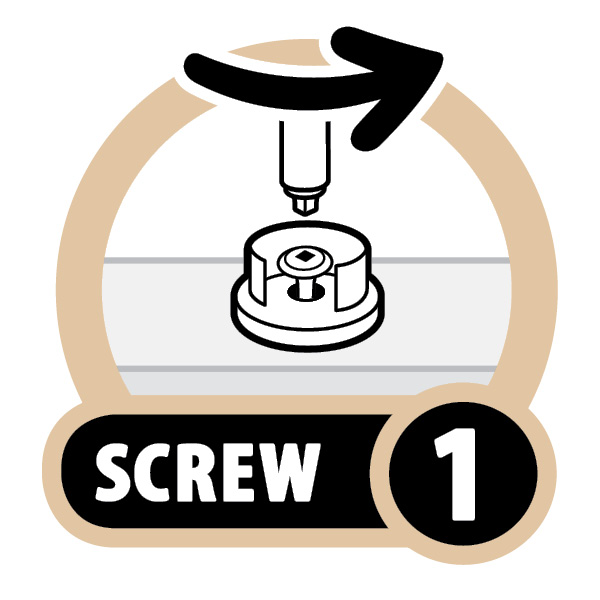
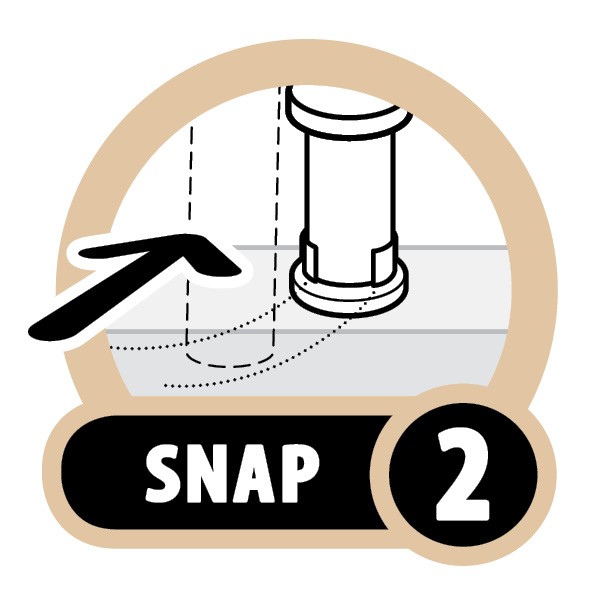
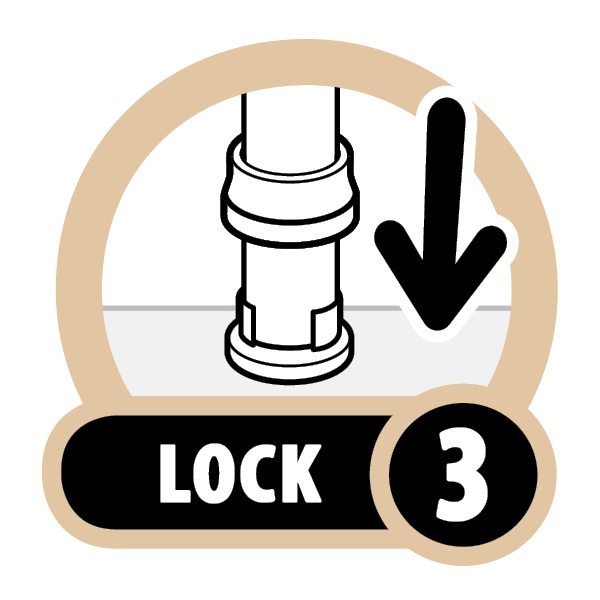
Using the Snap'n Lock™ Baluster system is as simple as these three steps... Screw, Snap, and Lock.
Simply screw down the base to the 2x4 rail. Snap in the baluster. Slide down and lock the collar. That is, it.
And not only is it fast to install the Snap'n Lock™ Baluster system is it is also fast and easy to uninstall. This is a huge benefit when it comes time for maintenance.
Here is what we mean...
Simple Care-free maintenance
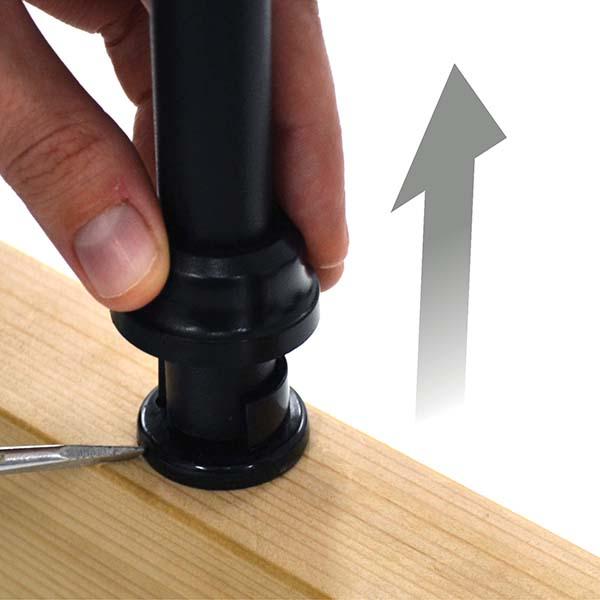
pop the collar up
The collar releases using a slot screw driver.
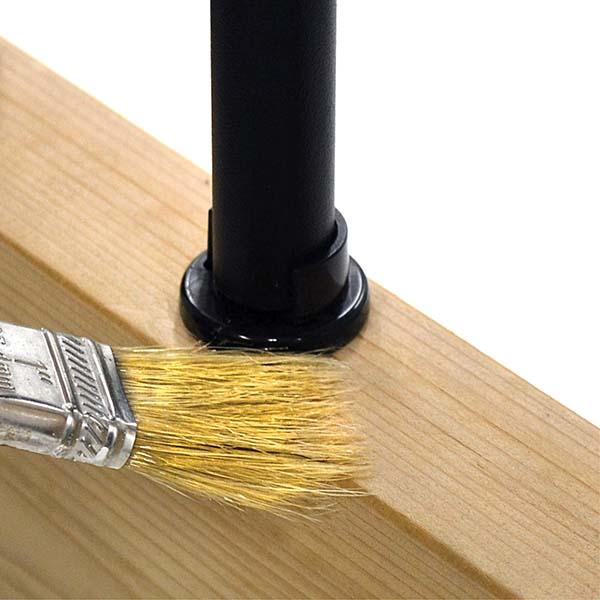
stain or paint
Stain or paint around the base quickly and easily. No need to use tape or worry about getting paint or stain on your wood rail.
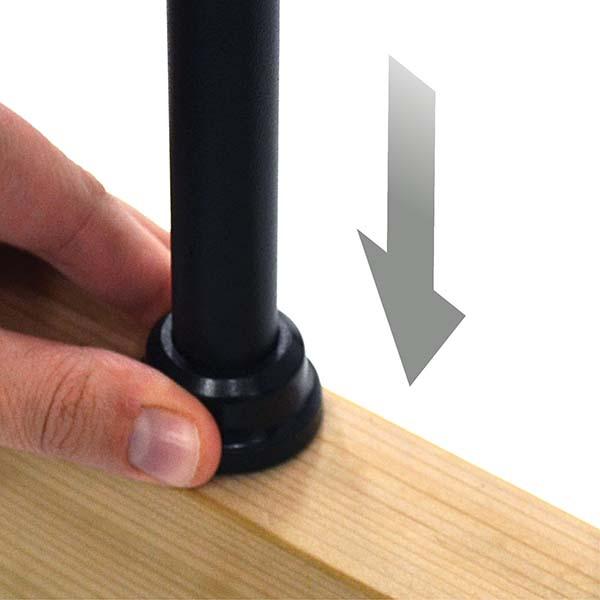
Lock the collar down
Just slide and lock the collar down when you are done.
Snap'n Lock™ Balusters are perfect for retrofitting old wood railings
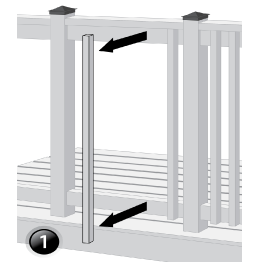
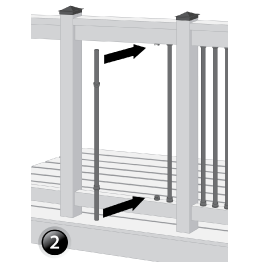
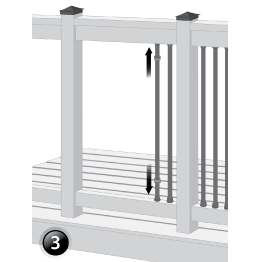
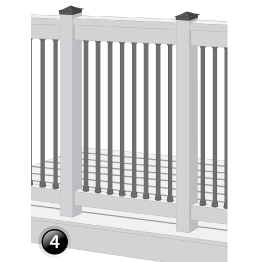
No need to remove the top rail or take down the old railing to replace the infill with beautiful new aluminum balusters.
The patented sideways installation make this possible!
With traditional plug systems you must take down the entire railing and start the rebuild from scratch.
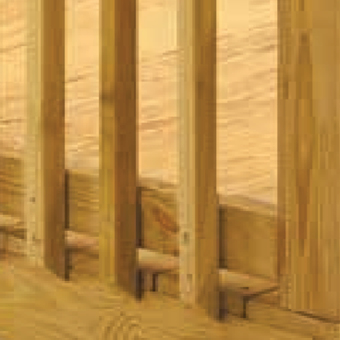
With the Snap'n Lock™ system, all you do is measure the gap between your 2x4 rails.
Pick the 25" or 31" balusters and then cut them down to the specific gap less 1/2" for the thickness of the base connectors.
Aluminum is easy to cut with a hand held grinder and cutting blade or a cut off saw.
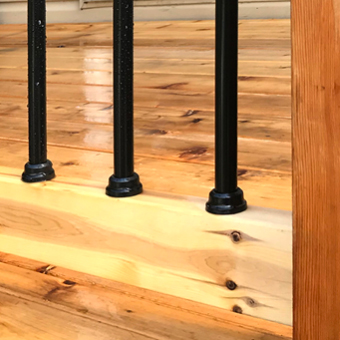
The sideways installation will save you a lot of time, money and effort.
But of course the best thing is that you just gave your old worn-out wood railing a brand-new gorgeous railing.
Still not sure of the Difference? Watch This Video
Installing the Snap'n Lock™ Baluster system is so simple even folks who are just starting out can do it themselves with minimal carpentry experience.
The Snap'n Lock™ baluster kit pairs beautifully with the hidden fastener look of the Shadow Rail Connectors. Check out just how easy it is. Just click the go buy now link below to Learn More.
The Engineering behind the Snap'n Lock™Baluster System
Do not let the simple look of the Snap'n Lock™ balusters fool you. A lot of thought went into conceiving this design to make it work so well.
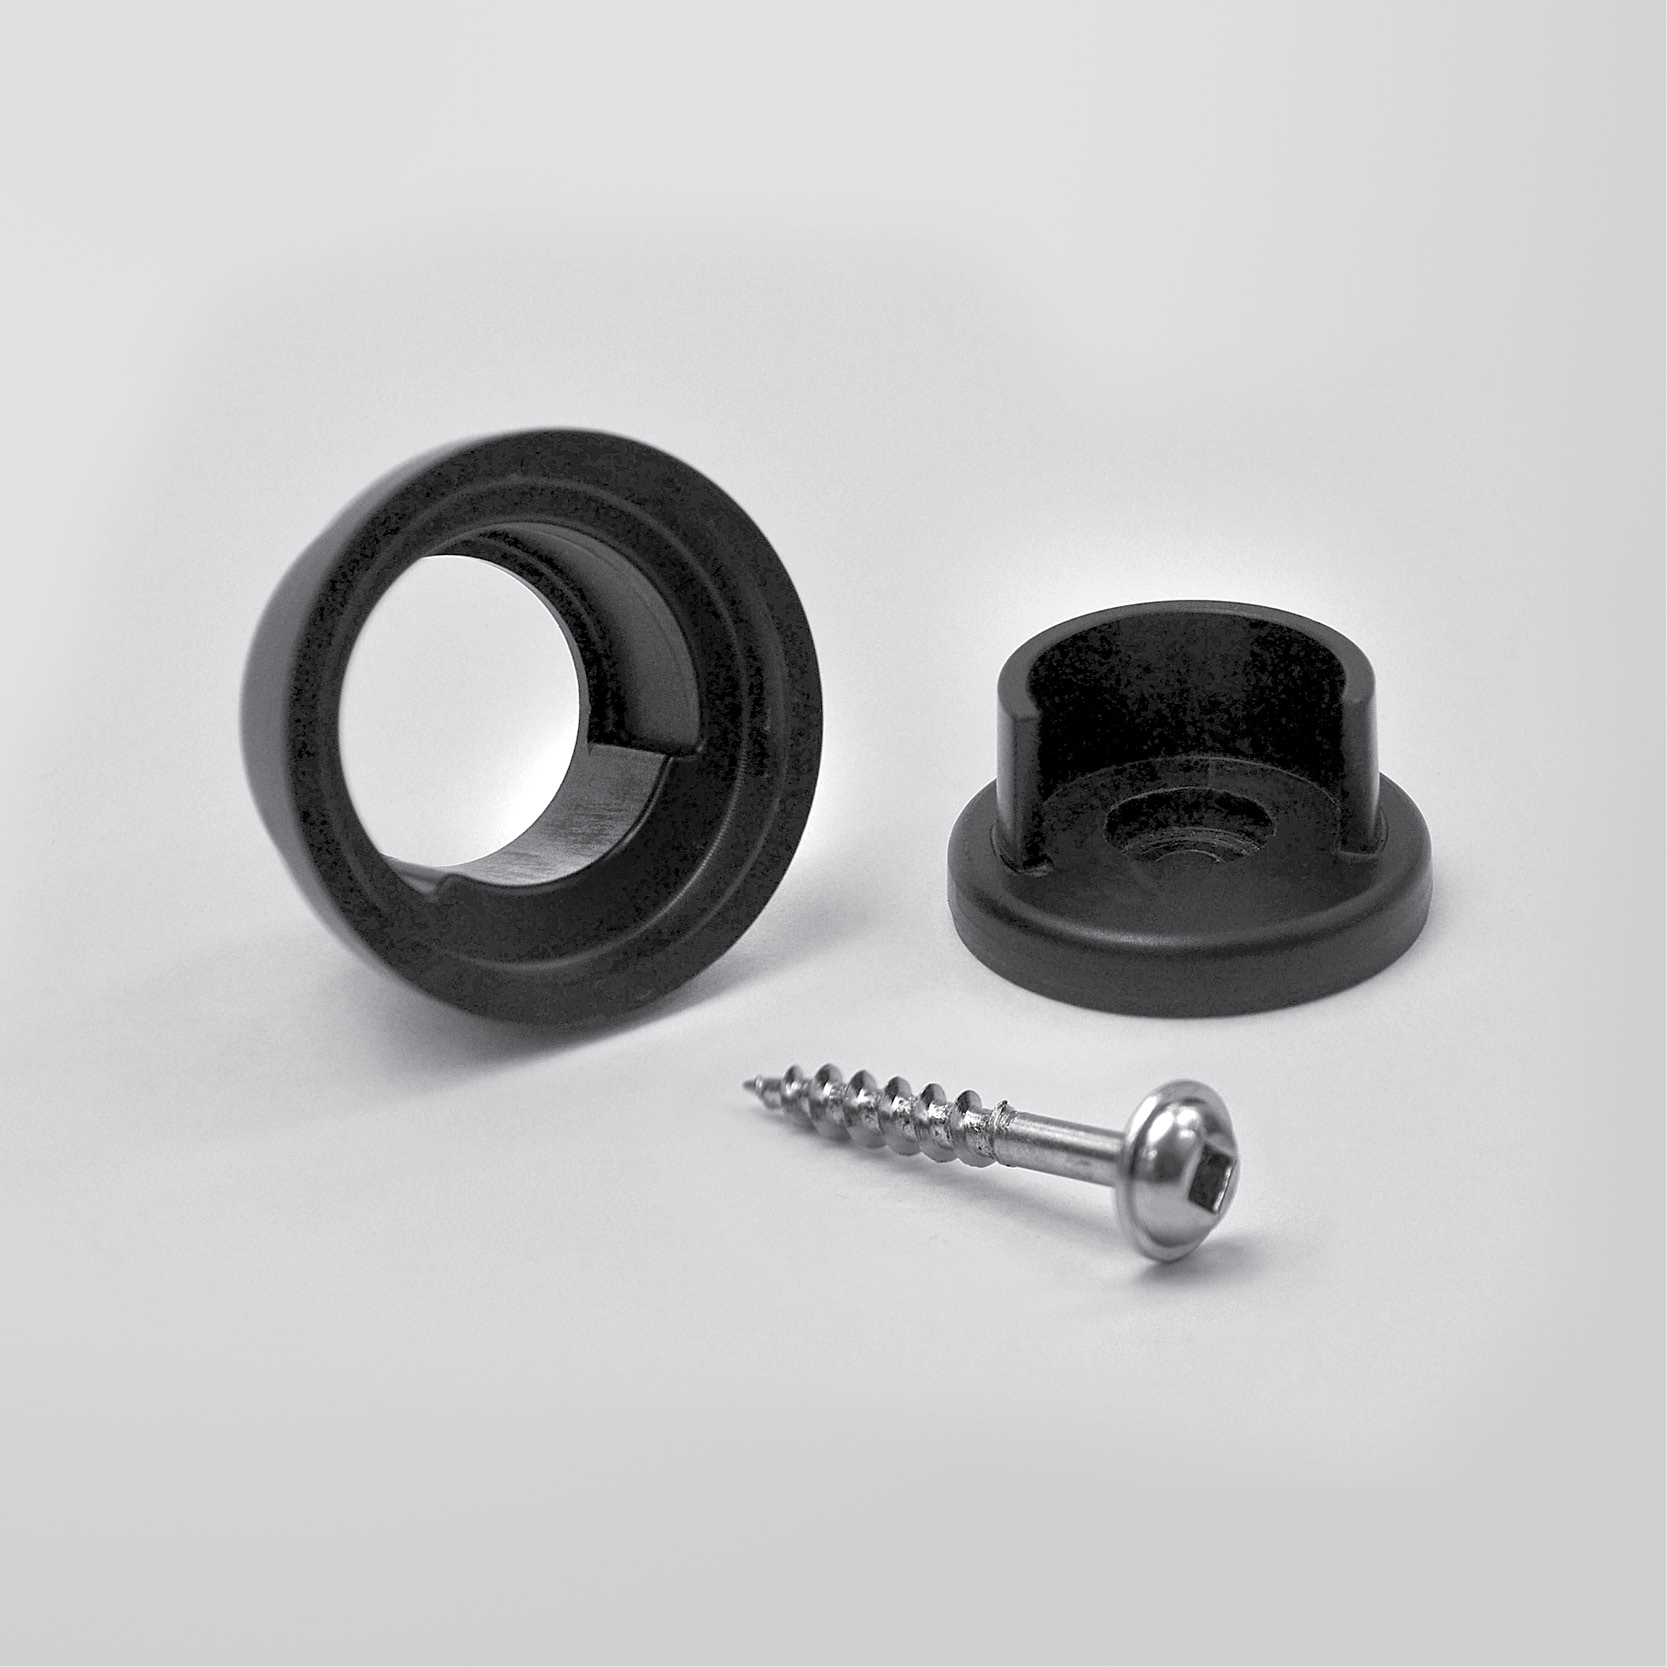
For starters the base and the collar are designed to incredibly tight tolerances making them fit together like a glove and constrict around the baluster to hold it tight which eliminates any annoying wobble.
The balusters are made of North American T6063 aluminum and the connectors are made of USA polycarbonate. The connectors can handle extreme hot and cold temperatures and high impact force.
And boy, are they strong
The balustrades were subjected to a standard push test over one square foot (three balusters). The design load is 50 pounds per square foot (psf) and a safety factor of 2.5x is required.
The Snap'n Lock balusters sustained 515 lbs. before failing.
That is equivalent to a safety factor greater than 10X!
Just click the buy now link below to Learn More.
Some Insightful Thinking
The sidewalls of the base connector are free to flex and accept the baluster as it is pushed into place. The mating surfaces of the base and the collar connectors are sloped so that as they slide together the fit gets tighter and tighter until they lock together once fully seated.
As a bonus the parts can be released by fitting a slot screwdriver under the color and popping it up. This allows for easy maintenance or the addition of decorative baluster collars anytime after installation.
easily adaptable for stairs
take one snap'n lock baluster kit...
Each kit includes ten Snap'n Lock Balusters, twenty Snap'n Lock Connectors and Screws, and covers four linear feet. The 25" balusters are recommended for stair applications.
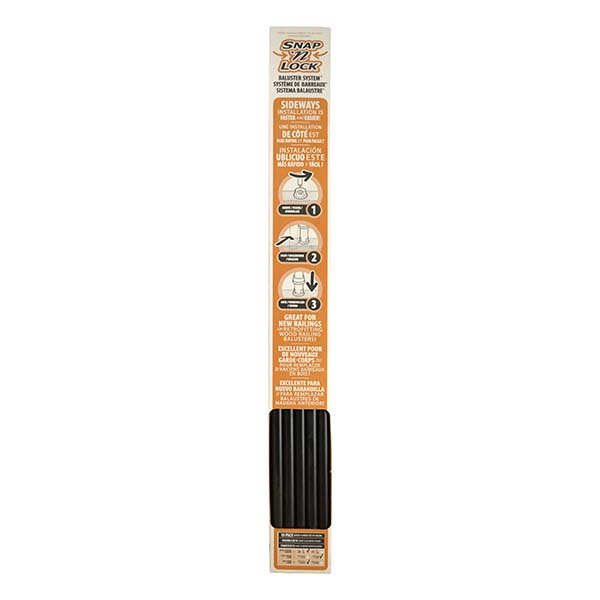
...and one pack of stair adapters
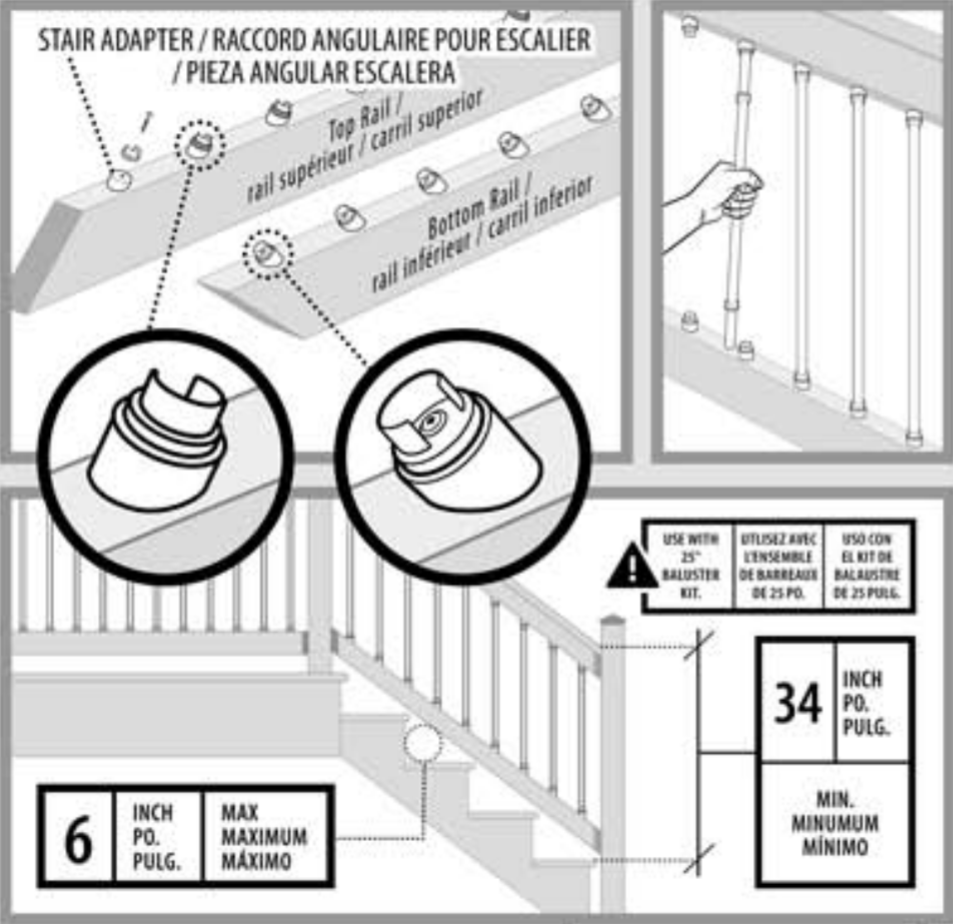
The stair adapters snap onto the base connector of the Snap'n Lock™ connectors. Then, together, they are screwed down on to the 2x4 lower rail and top rails and ready to receive the aluminum baluster.

building stair rails with Snap Lock Baluster stair adapters
Let us take a closer look at how the stair adapters work with the Snap'n Lock™ baluster connectors.
No need to get complicated and cut balusters at an angle.
Just snap the stair adapter to the underside of the base connector and screw the unified parts to the 2x4 as normal.
This helpful visual guide is worth a thousand words and shows just how simple it is.
The shorter 25" balusters are recommended for most common stair rail applications as shown in the diagram.
Handles a range of rise and run angles
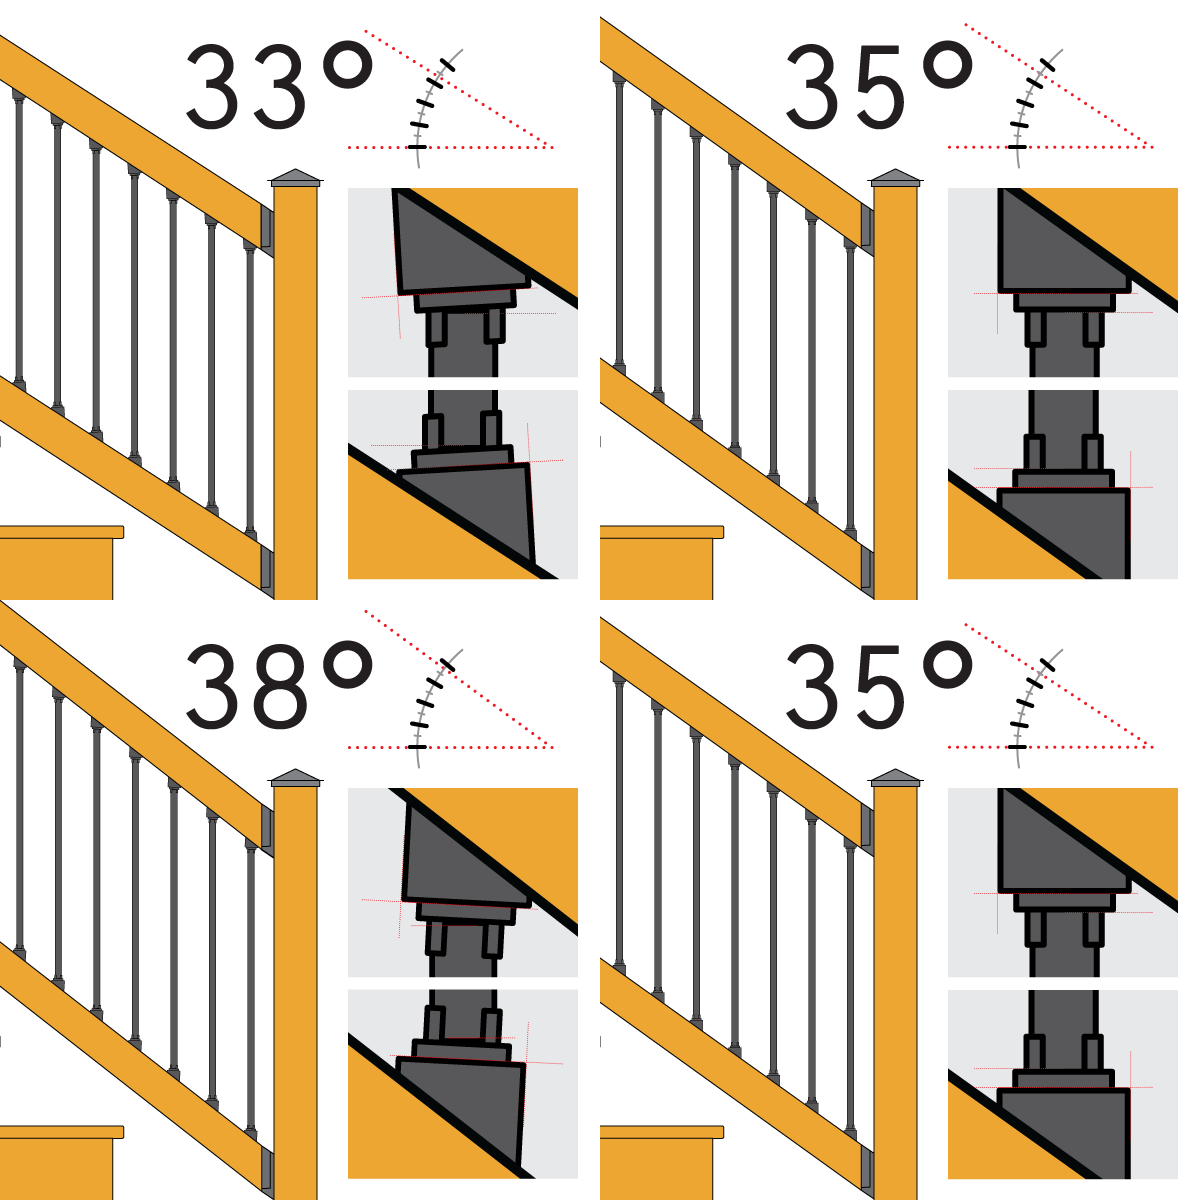
The adapters are set at 35-degrees to match the common rise and run for stairs under the residential code.
But sometimes you might have a slightly shorter rise and a longer run. This changes the angle slightly and can differ from the 35-degree default.
Do not worry, the connectors have enough flex to accommodate stairs from 33 to 38-degrees.
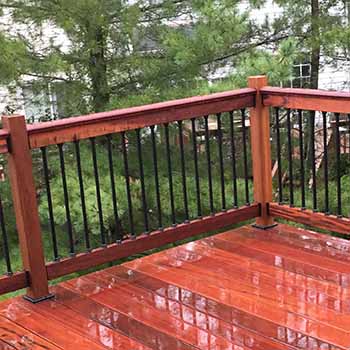
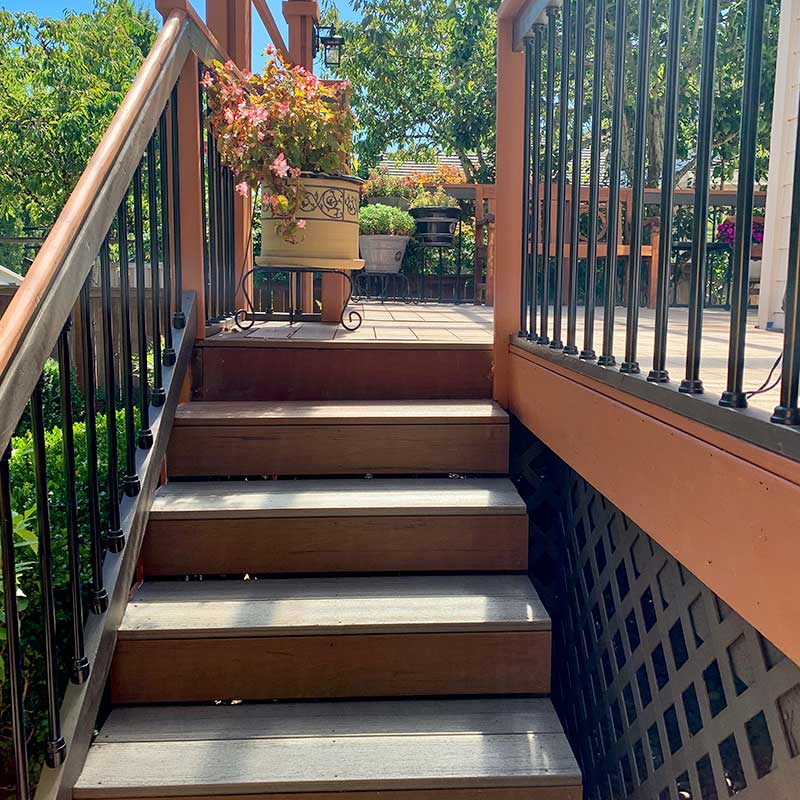
you can achieve stunning results just like this
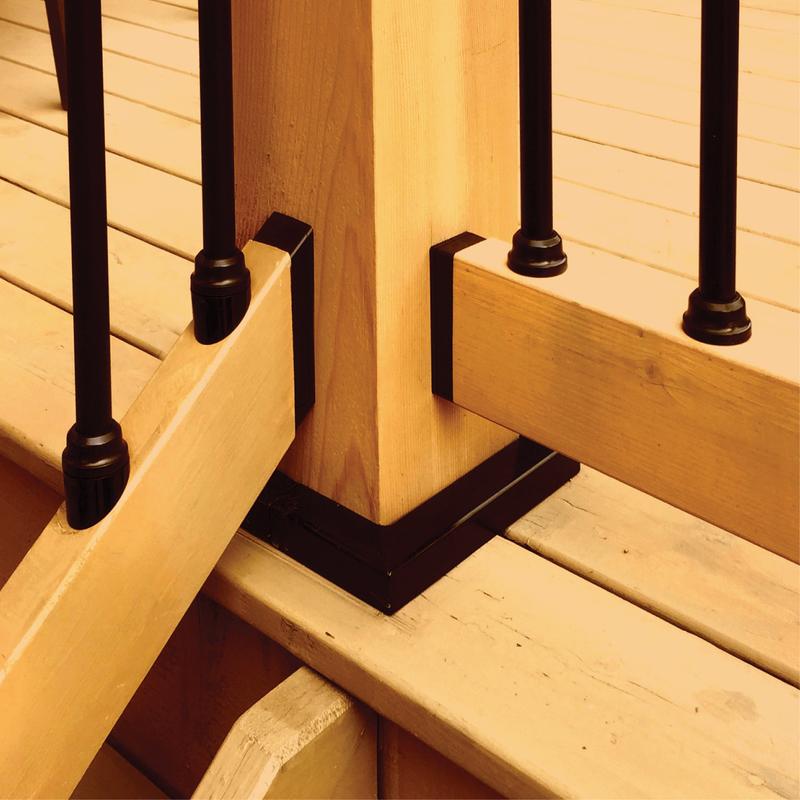
Whether you are a Builder or a DIYer, get ready to build beautiful deck railings faster and easier. The finished look is outstanding and totally achievable.
If you like the clean look of this deck railing consider learning about all the Titan Building products used in this image. In addition to the Snap'n Lock™ baluster connectors and stair adapters we used the Shadow Rail Connectors (level and stair) the first hidden fastener railing connector, and the Titan Wood Post Anchor (6x6) the first low visibility surface mount post anchor and two piece locking galvanized and powder coated Post Skirt .
Just click the product links to Learn More.
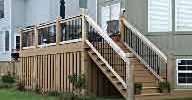
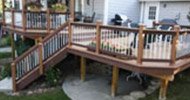
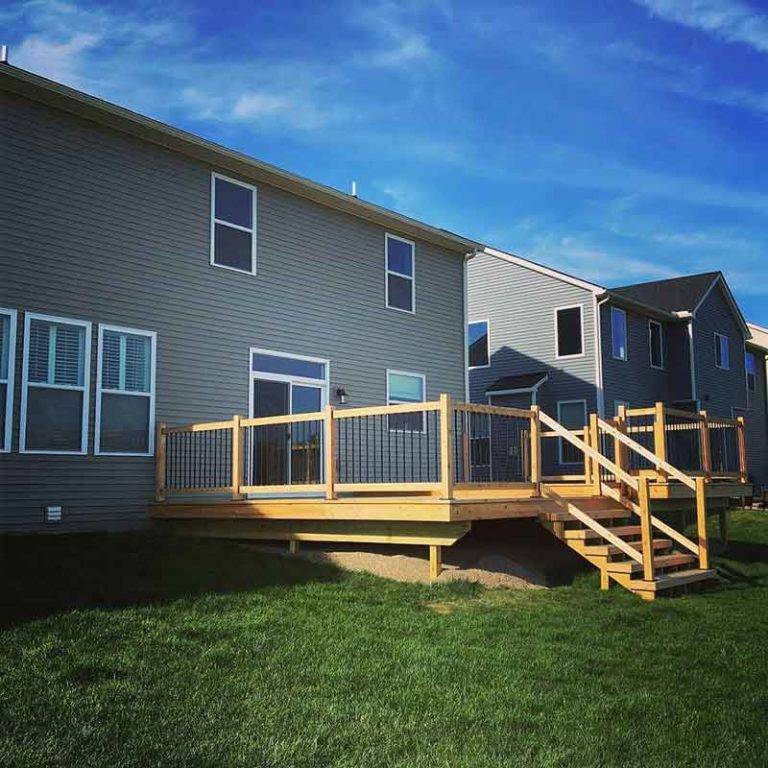
case studies of real jobs

This is a DecksGo Recommended Product. It is a product that we are confident you will be happy with and it has a great track record as a top performer in its category.
DecksGo was the first company to bring this product to the market.
You can expect more great "first" moments like this.
Because this is what we do - try to bring you leading edge building solutions before anyone else.
Home Snap'n Lock Balusters
