Picture Frame Decking Tips
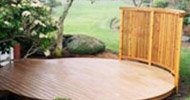
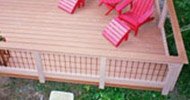
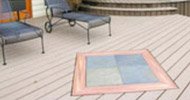
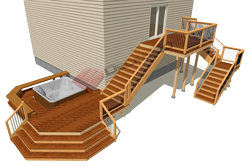
Picture framing decking is becoming quite popular among home owners and deck builders.
It sets even the most basic backyard deck apart from the rest and has a minimal to zero material cost increase with only a little more labor required.
There are two common styles - a 45 degree miter frame corner or a butt joint frame.
Each style has some unique characteristics that should consider before you decide which to use.
Miter Joint Frame
|
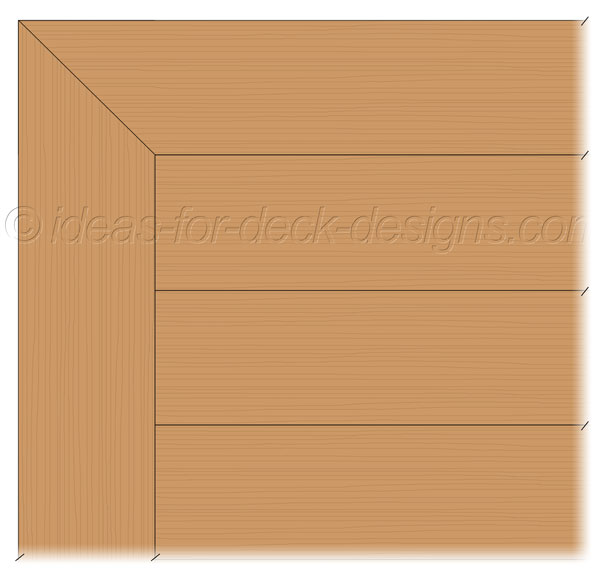
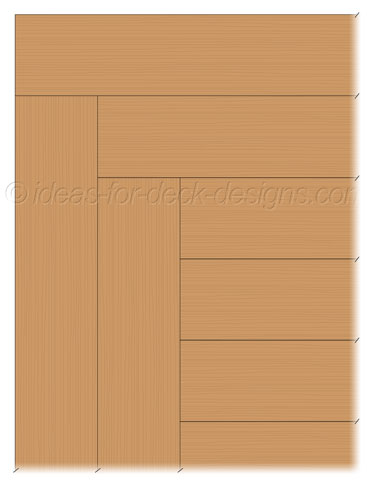
This is the finished appearance of a miter joint frame. The deck boards in the field are perpendicular to the joists. You will notice that there is always one board that runs parallel to the joist. In order to support the perimeter frame board, blocking at 16" o.c. is required between the rim joist and the penultimate joist beside it. |
|
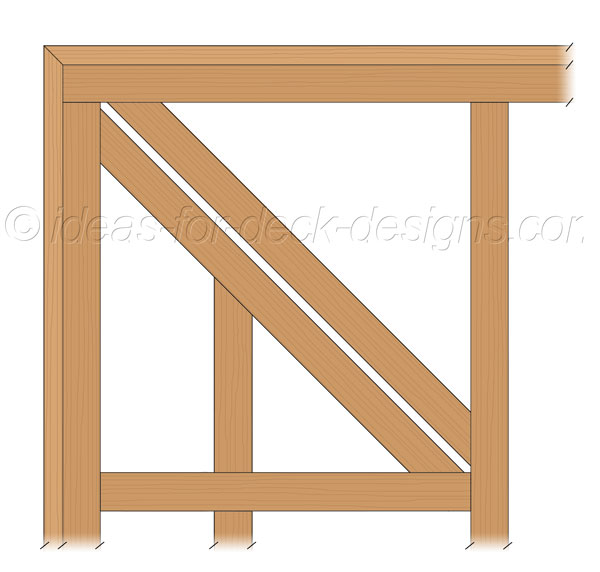
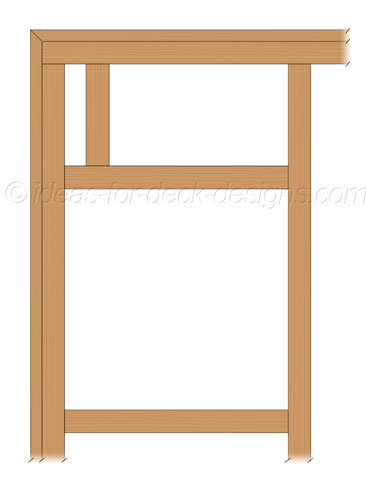
In this next illustration you can see how one might wish to frame for a miter joist picture frame layout. The diagonal blocking keeps an air space and allows moisture near the joint to dry faster. A smaller blocking piece supports the end of the decking board. |
|
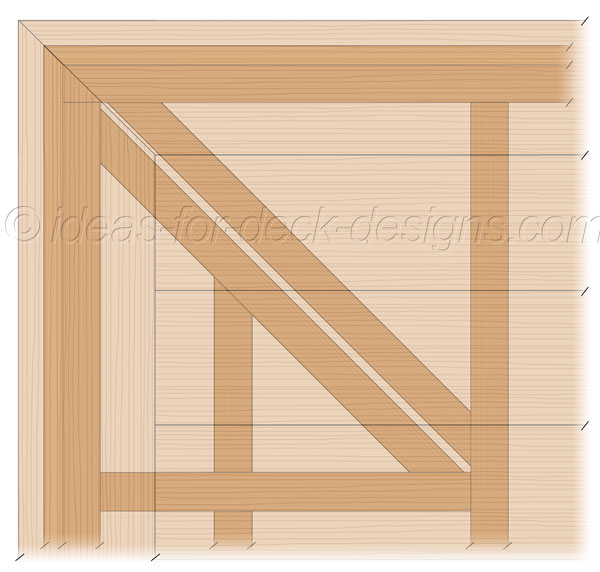
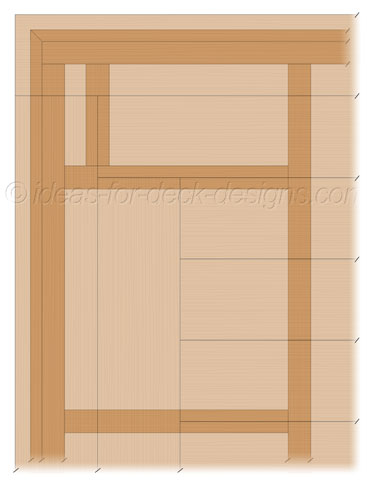
You can see in this illustration how it all comes together. Building a picture frame deck right requires a bit more work but the end result is beautiful. Keep in mind that miter joists are likely to separate at the inside corner because boards shrink more across their width than length. Construction adhesive, biscuits and starting with dry wood are your best defense to stop this. |
Butt Joint Frame
|
A butt joint is also a nice way to frame your deck like a picture. This picture frame decking style has the advantage of not having to worry about the corner joints separating like in a 45 degree miter joint frame. This illustration shows two courses of perimeter framing border boards. You could just as easily use a single board to make your border. But there is absolutely no denying that it looks really nice. From my experience I can tell you it's quicker than trying to cut really accurate 45 degree miters and then having to stop them from shrinking apart. |
|
When we remove the deck boards, the secret of the framing is revealed. This is one way you can frame. In this illustration, you will notice that the blocking supports the ends of two boards. You may wish to build a more elaborate frame so that each board has its own blocking to sit on. There really is no limit to how fancy you can get. It depends on how much extra labor you can allow for. |
|
To sum it up, you can see exactly how the two elements work together to create a visual treat to the eye and still function properly. If you want to boost the appearance of your deck, I highly recommend you consider trying one of these simple picture frame decking techniques. I guarantee your neighbors will be turning their heads! |
This article is from the 2011 Spring issue of our Deck INSIDER newsletter. If you're interested in getting knowledge, tips, and tricks about all aspects of decks straight to your email, sign up below or click here to learn more.
Sign up for our newsletter here.
Home > Building A Deck > Picture Frame Decking
