Framing a Deck Structure
Now that you have made it this far, the real fun of framing a deck begins.
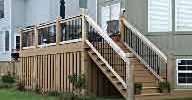
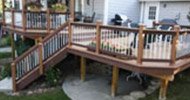
This deck looks like a simple structure, and it is.
Except for a couple tiny adjustments to the design which demanded the following modifications when it came to framing the deck.
A Bump Out Changed the Joist Direction
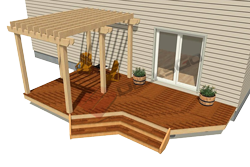
Notice how the beam forms a 90-degree angle. This had to be done to support the part of the deck that protruded along the side of the house.
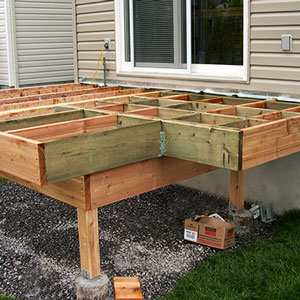
The decision to add that little “bump out” was done to create a little more space near the house and to allow for a nicely tucked–in set of deck stairs.
If this bump out had been framed with the joists all running parallel, another beam 18” parallel to the house would have been required. That is a lot digging, concrete and lumber just for a 24” bump out.
This section of the framing was designed to run perpendicular to the rest of the deck framing and it was set into the deck over 48” so that the force on the cantilever would not be a problem. It was a very efficient way to build the deck design and yet keep it strong.
Blocking Between Joists
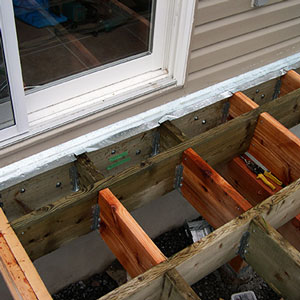
Since the joists in the bump outran perpendicular to the rest of the deck, additional blocking had to be installed between the joists on 16” centers to mimic the direction of the joists in the rest of the frame.
This allowed the deck boards to all be installed parallel to the house. But also notice how the flashing over the ledger board is bent around each joist to encourage water egress down and away from the deck boards and ledger.
A 45 Degree Corner
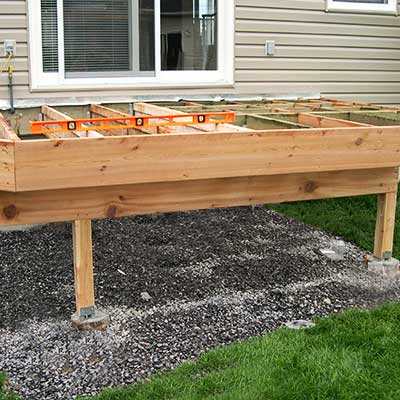
The last interesting design feature on this deck was cutting a 45- degree corner into the frame. We set the circular saw at 22.5 degrees and cut all ends of the joining rim joists to meet perfectly.
To ensure that this corner was not going to fail under load, we made sure that the corner rested on top of the beam as shown in this picture.
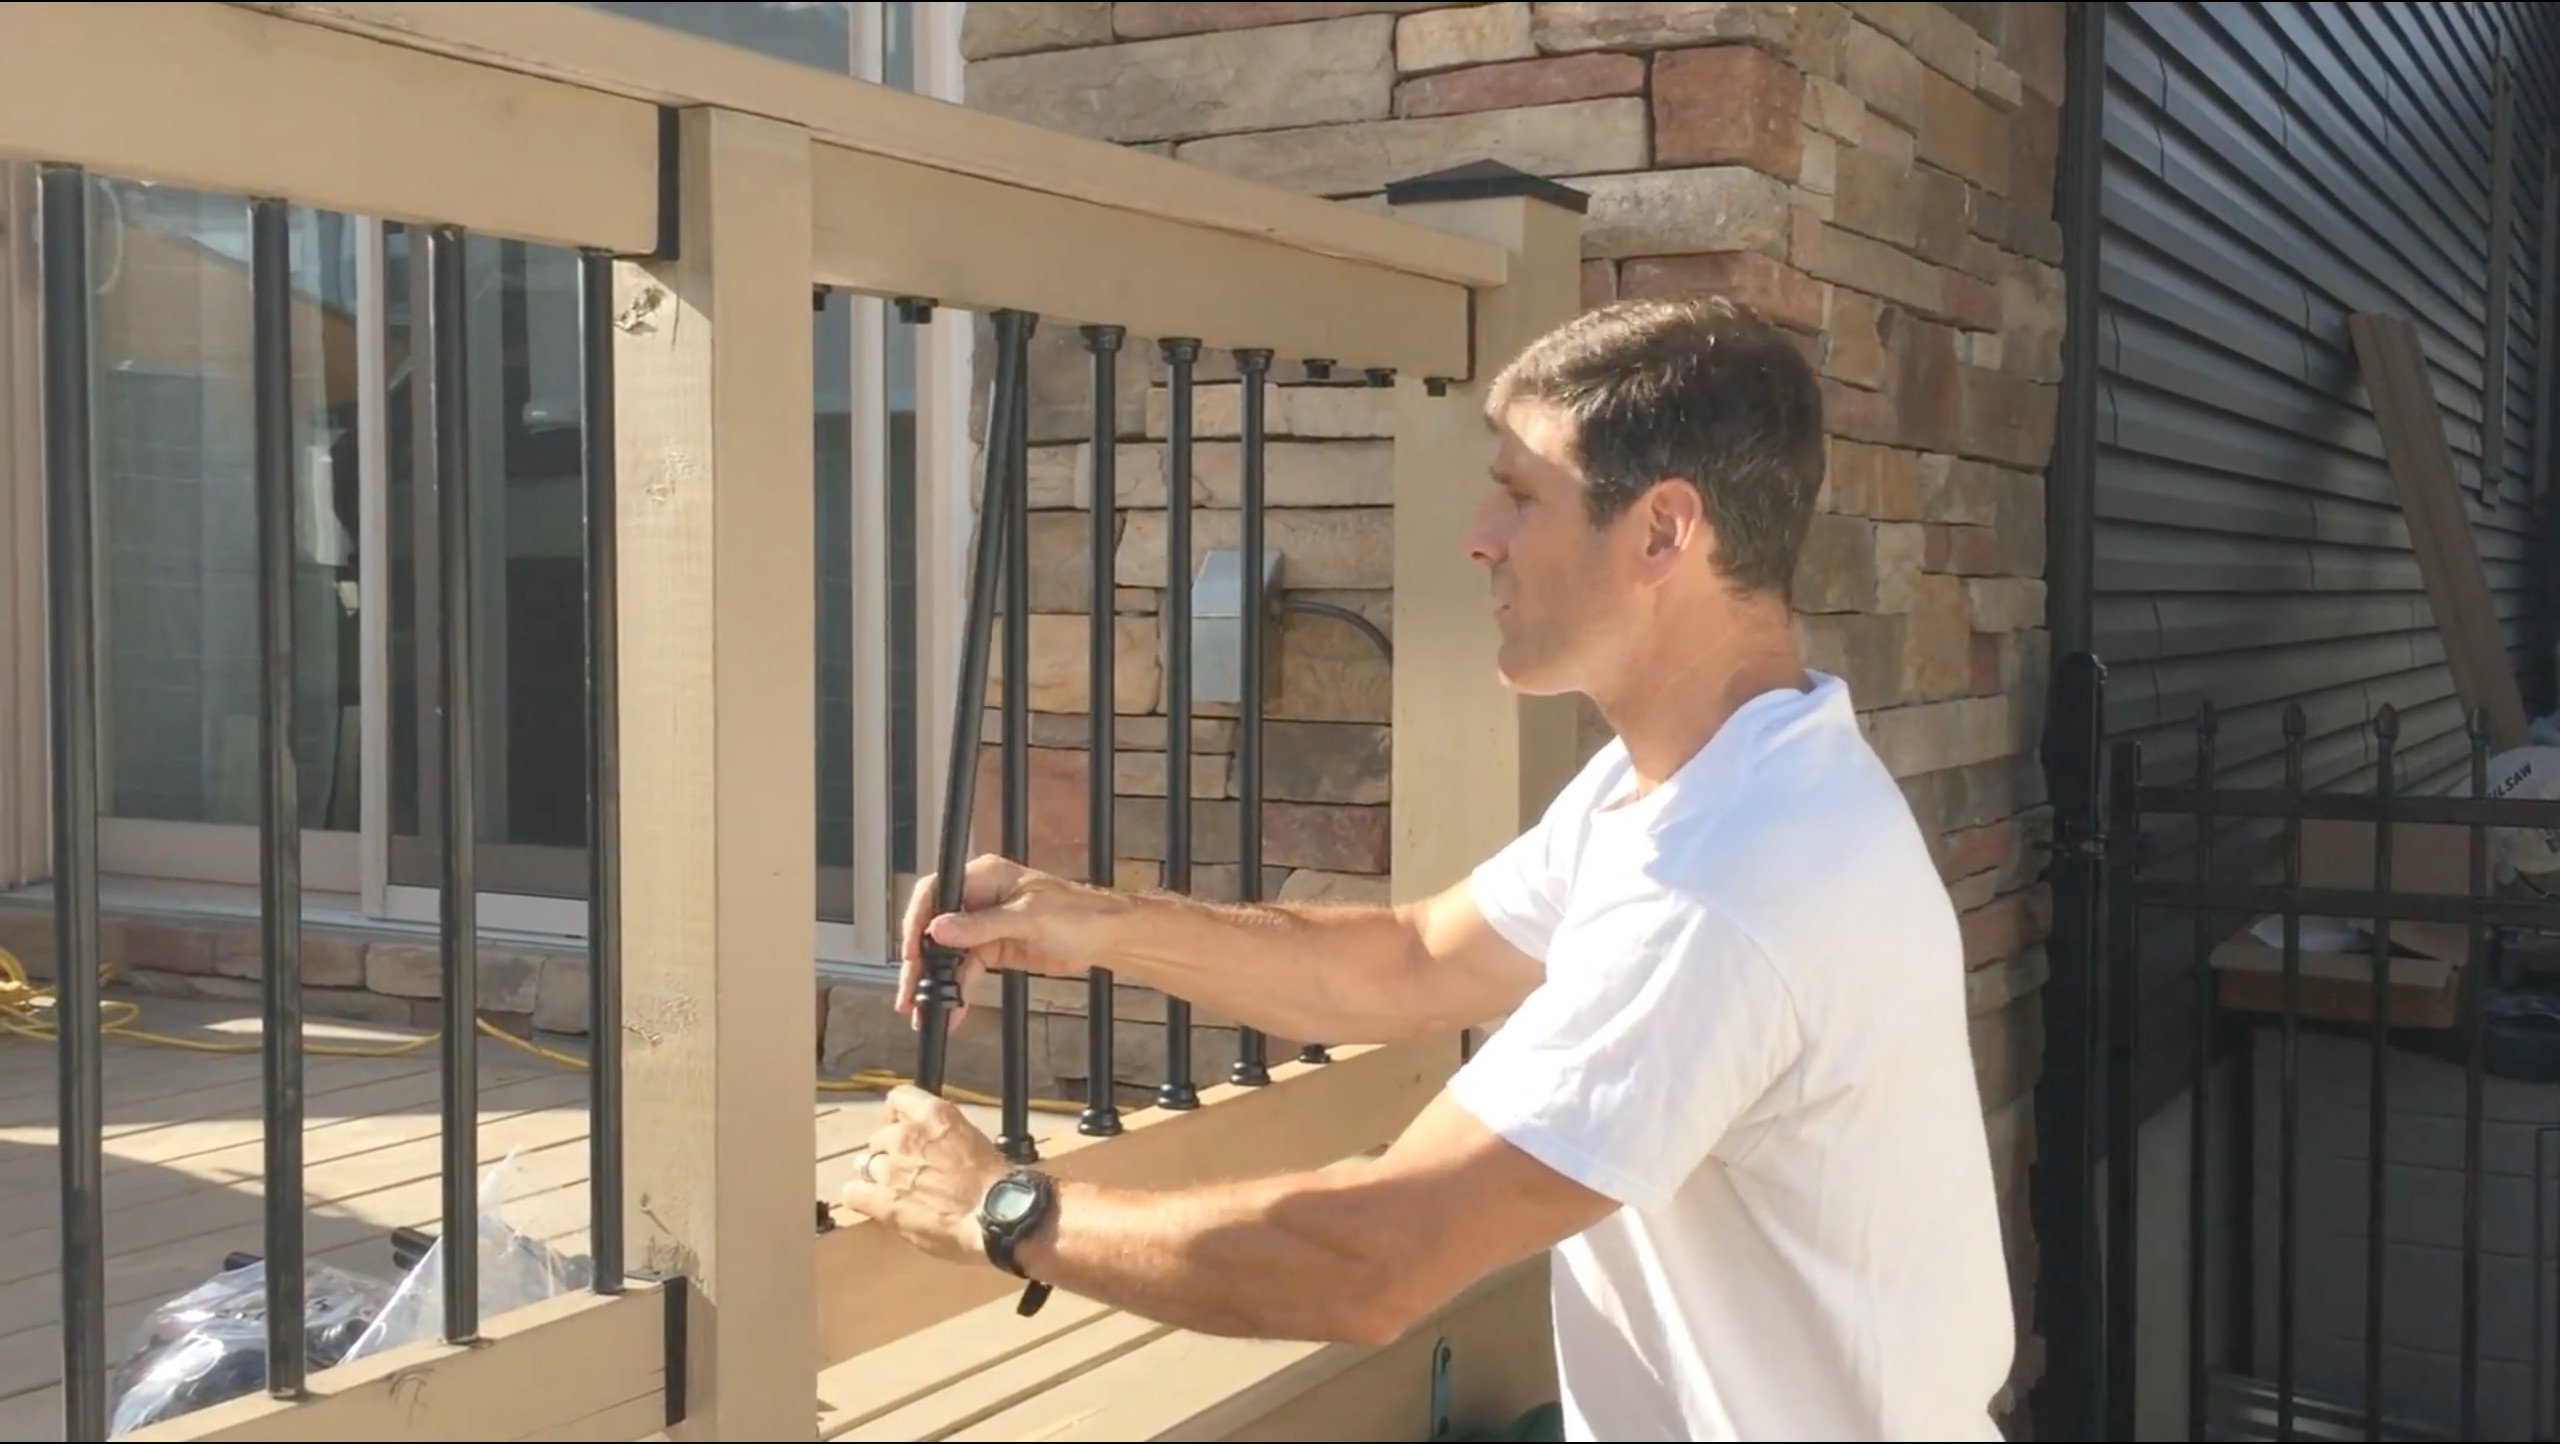
Now that the deck is framed the next step is to start thinking about how the railing system will be attached. When framing a deck, you must consider the way a railing will be attached.
Home > Building A Deck > Framing a Deck
