building a pergola in the backyard with the titan deck foot anchor™
How a diy'er built his pergola - and you can too.
When it came to Mel's backyard, 2020 was the year he decided to think big. Real big!
No negativity and pouting for him. Like many homeowners he decided to keep busy and so he planned to take on two big projects.
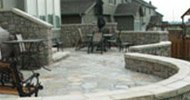
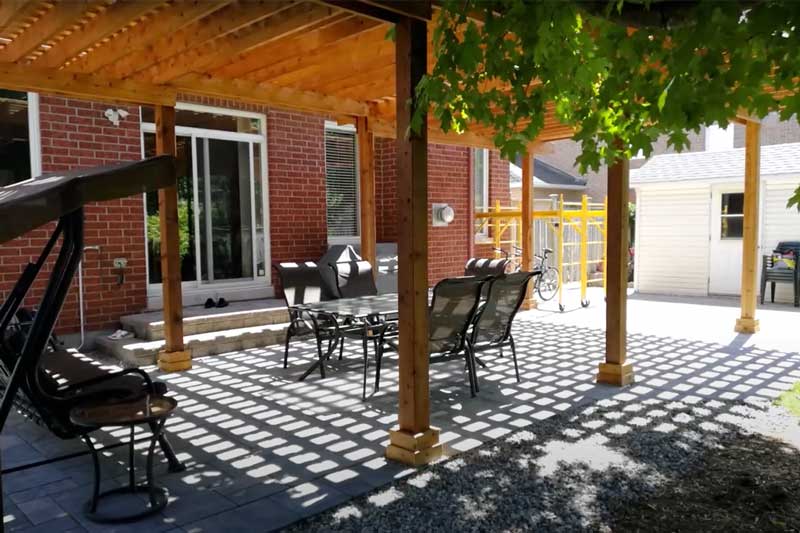
The first project was building a massive paver stone patio. The second was an elegant cedar pergola.
He built his pergola using the Deck Foot Anchor as the foundation for the pergola posts - all without having to dig huge holes and pour cement.
about the builder
Mel Chaar is from Ottawa, ON and he decided not to let all the negativity and challenges of 2020 get him down and hold him back from getting things done.
He found himself looking at his backyard with his family and friends in mind. It was full of weeds and lacked the kind of appeal and utility he wanted.
So, he made some big plans and decided to take on two major projects for the summer.
Are you in the same situation as MEL?
Have you got some ideas in your head about what you can do to improve your backyard?
Now more than ever homeowners have found themselves with time on their hands and restrictions on their lives, so they are turning to fixing and improving their homes and yards.
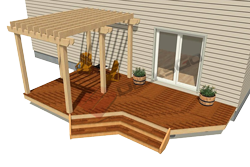
Pergolas are a great way to make your backyard feel like a separate room but with the benefit of a rooftop. And if the sun is too much for you all day long, pergolas give you the perfect balance between sunlight and shade.
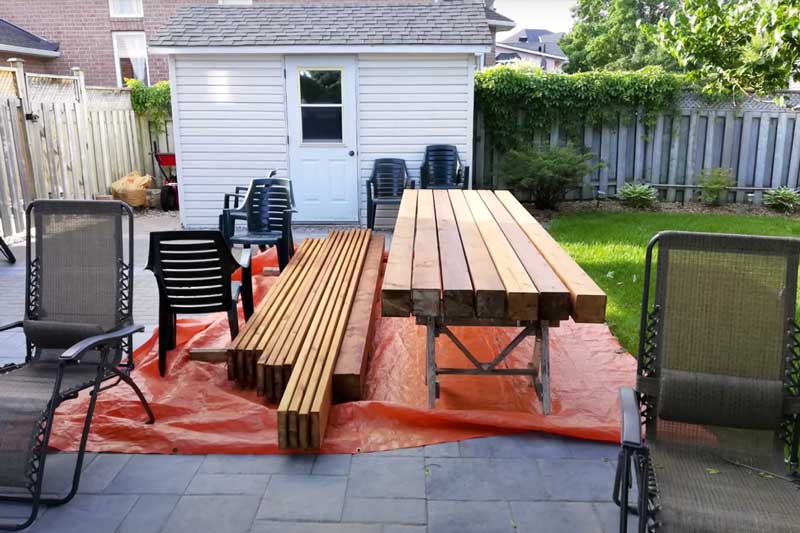 Cedar materials ready to be used in pergola project.
Prepare The Site for footing locations
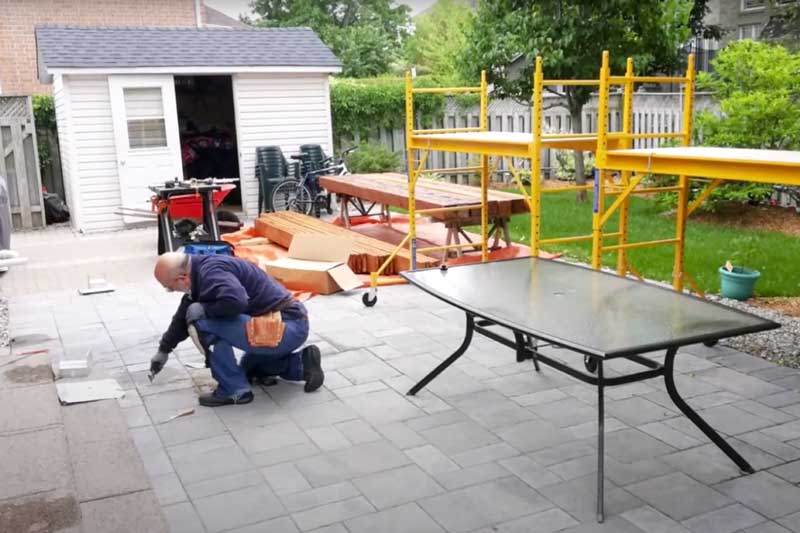 Removing individual pavers at each footing location.
Mel located the positions for each post and removed pavers so that the 12" square load plate of the Deck Foot Anchor could fit in between.
Removing pavers once they have been laid requires a screwdriver or a pry bar.
If a paver cannot be easily removed, no worries. Simply drill a hole into the paver and use a hook to loosen and pull the paver upwards.
Driving auger and setting footing
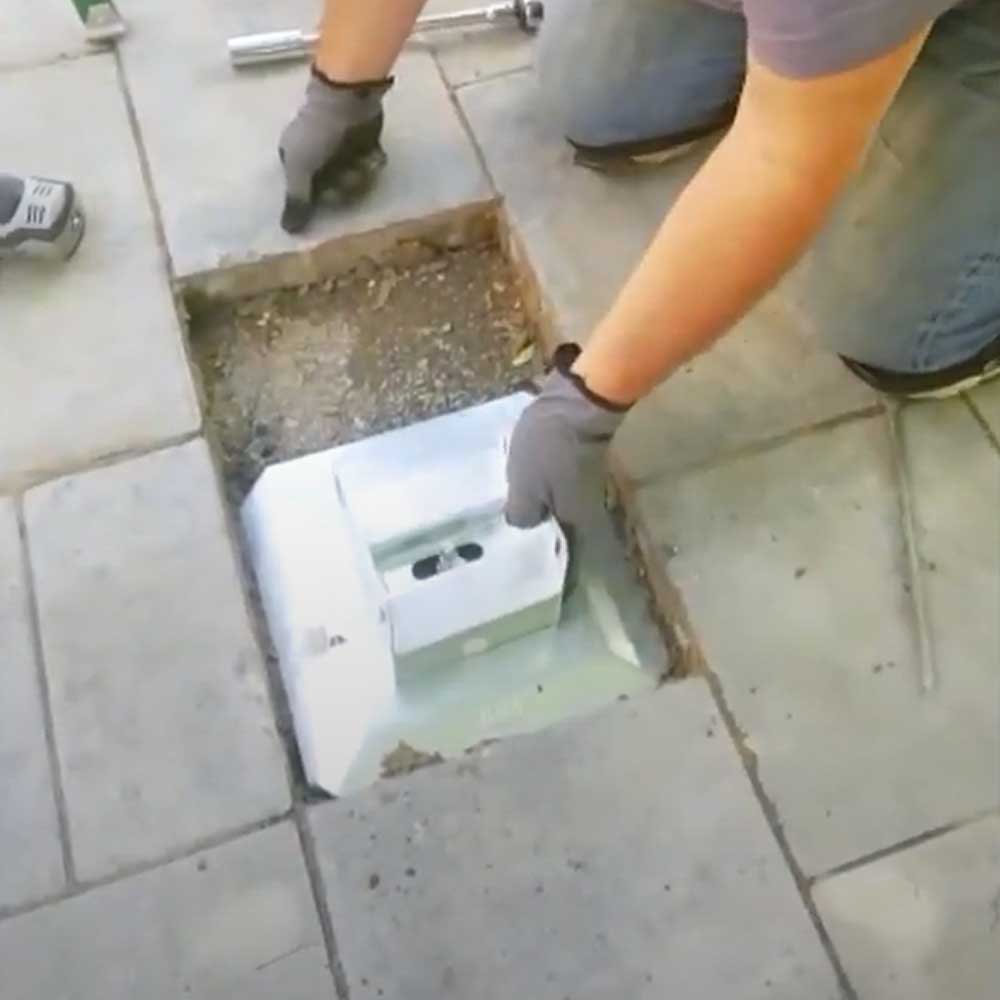
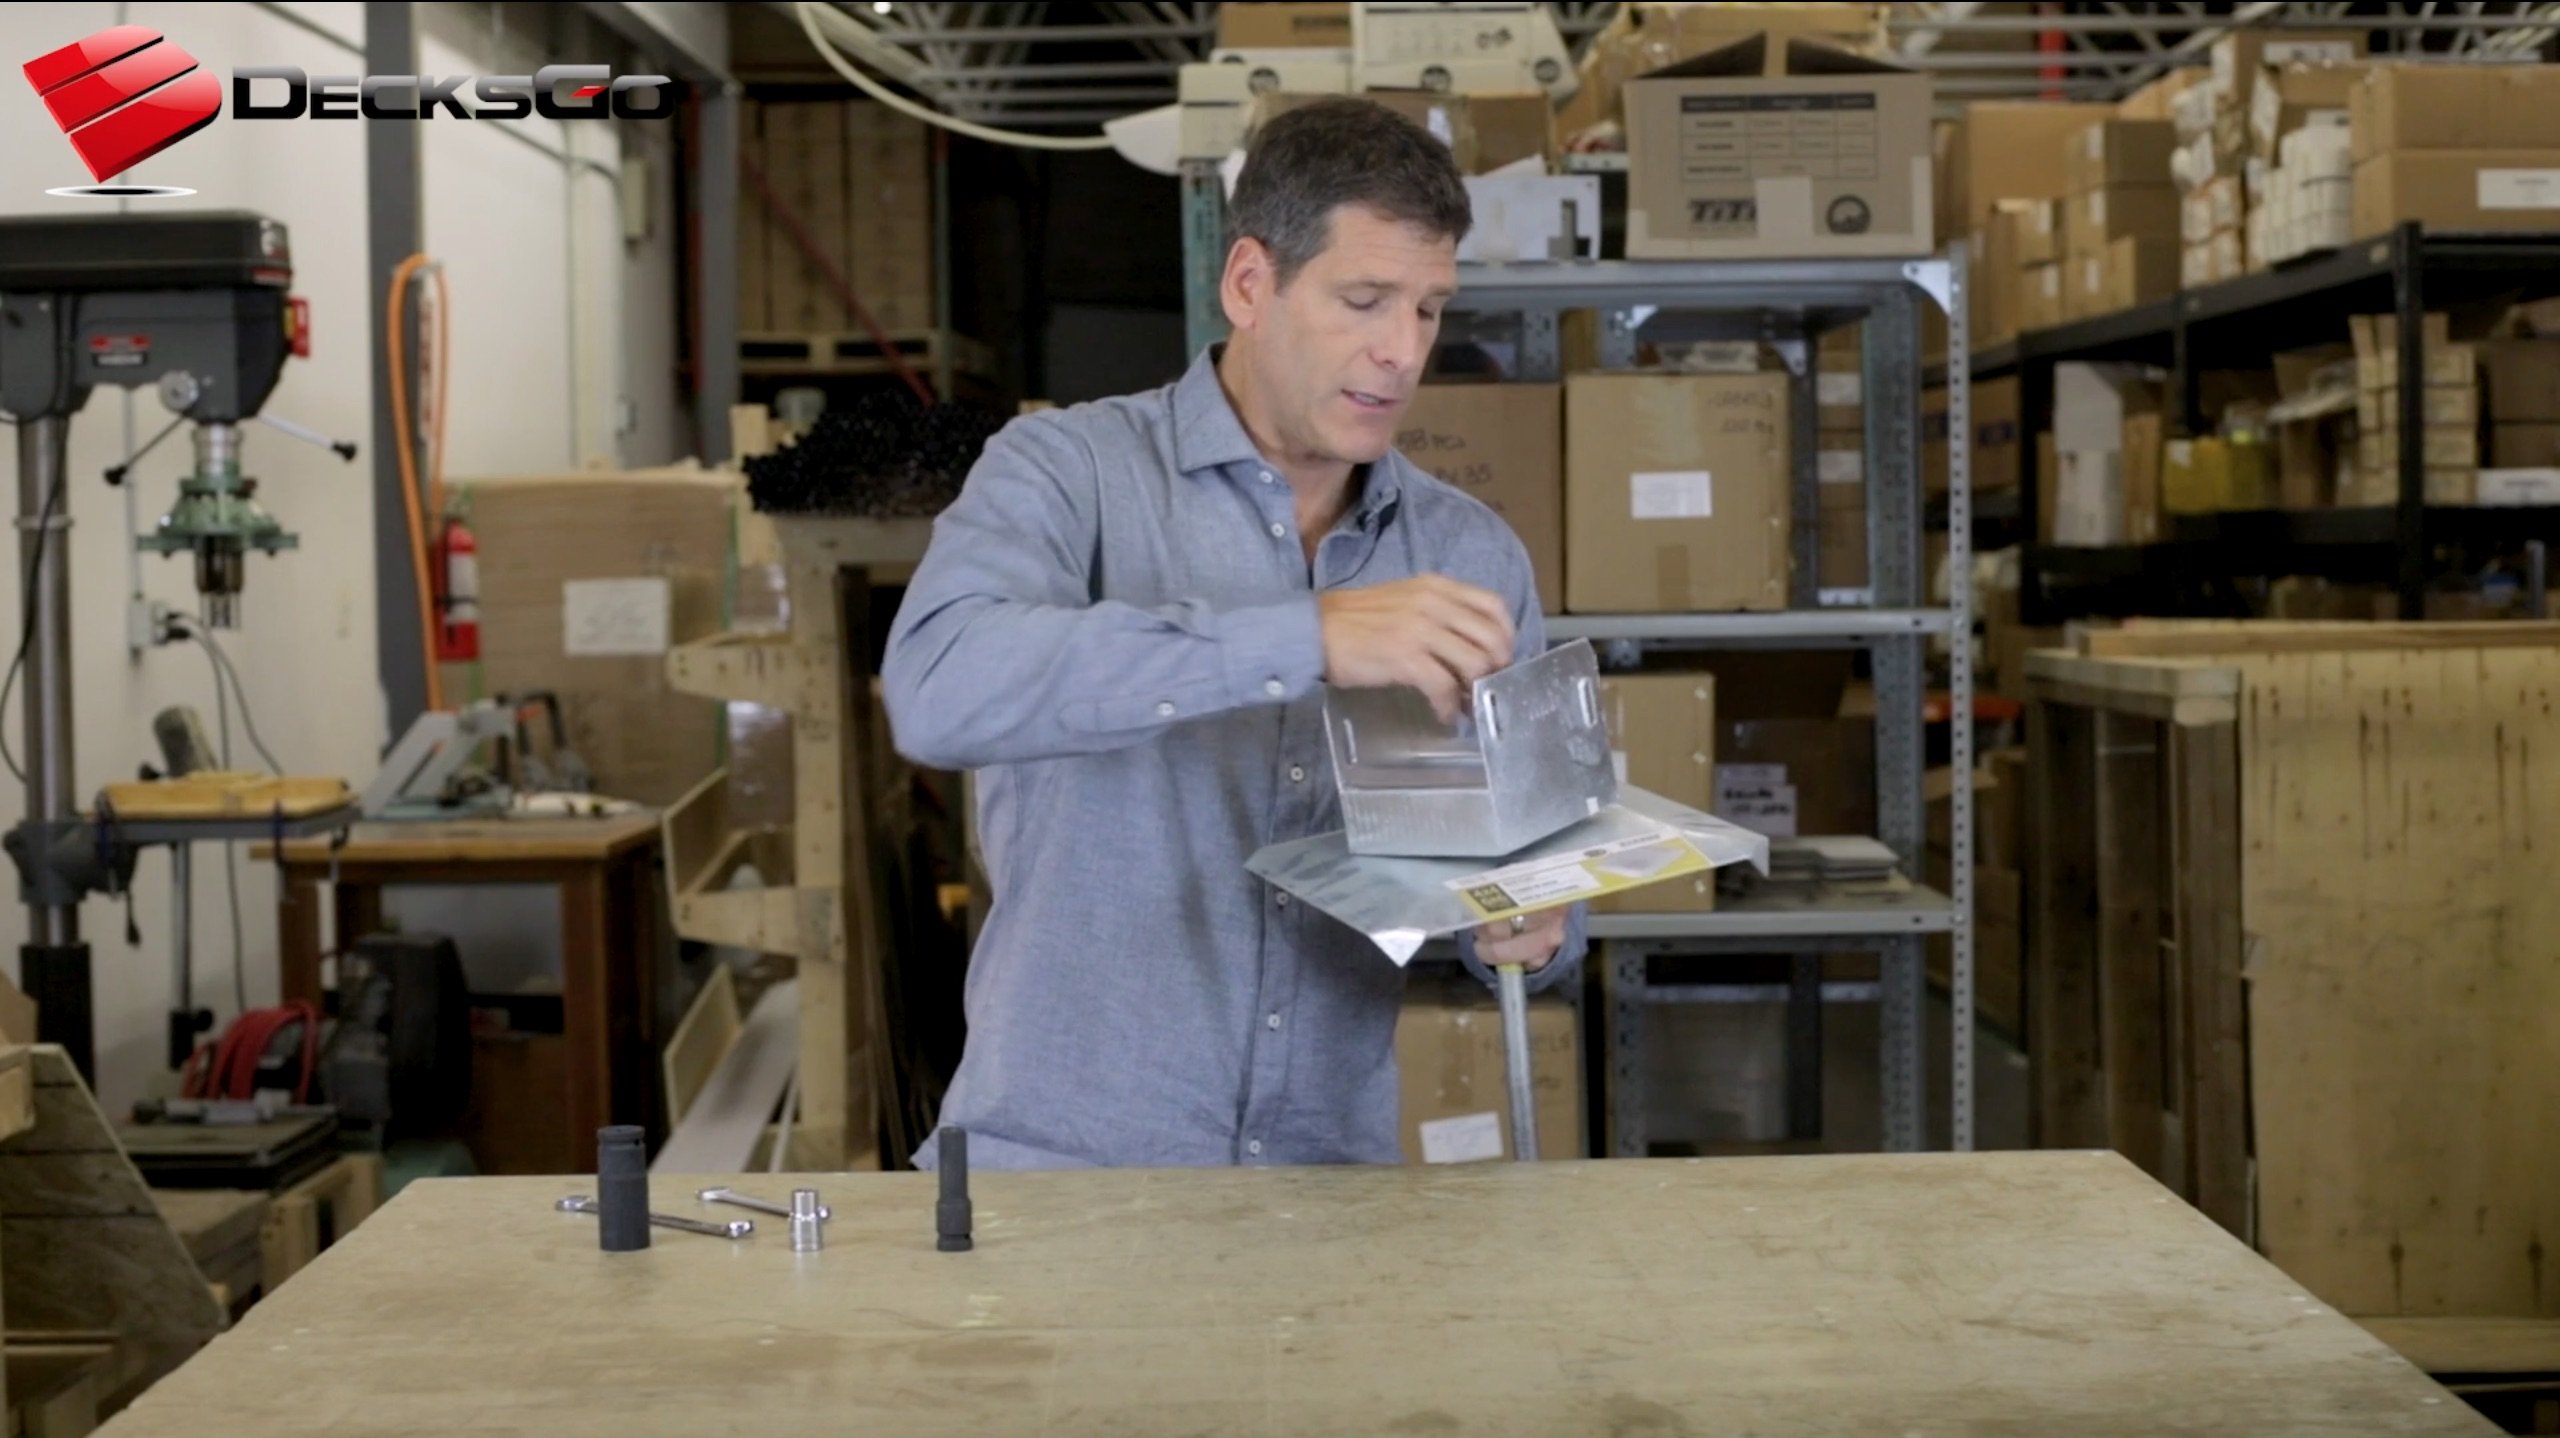
The Deck Foot Anchor is installed by driving an auger into the ground with an impact wrench. It can also be installed by hand using an Auger Tool and a 2"x4" if you wish.
The load plate needs about 12" of clearance and in this case the pavers were large enough to allow the plate to fit perfectly between the other pavers.
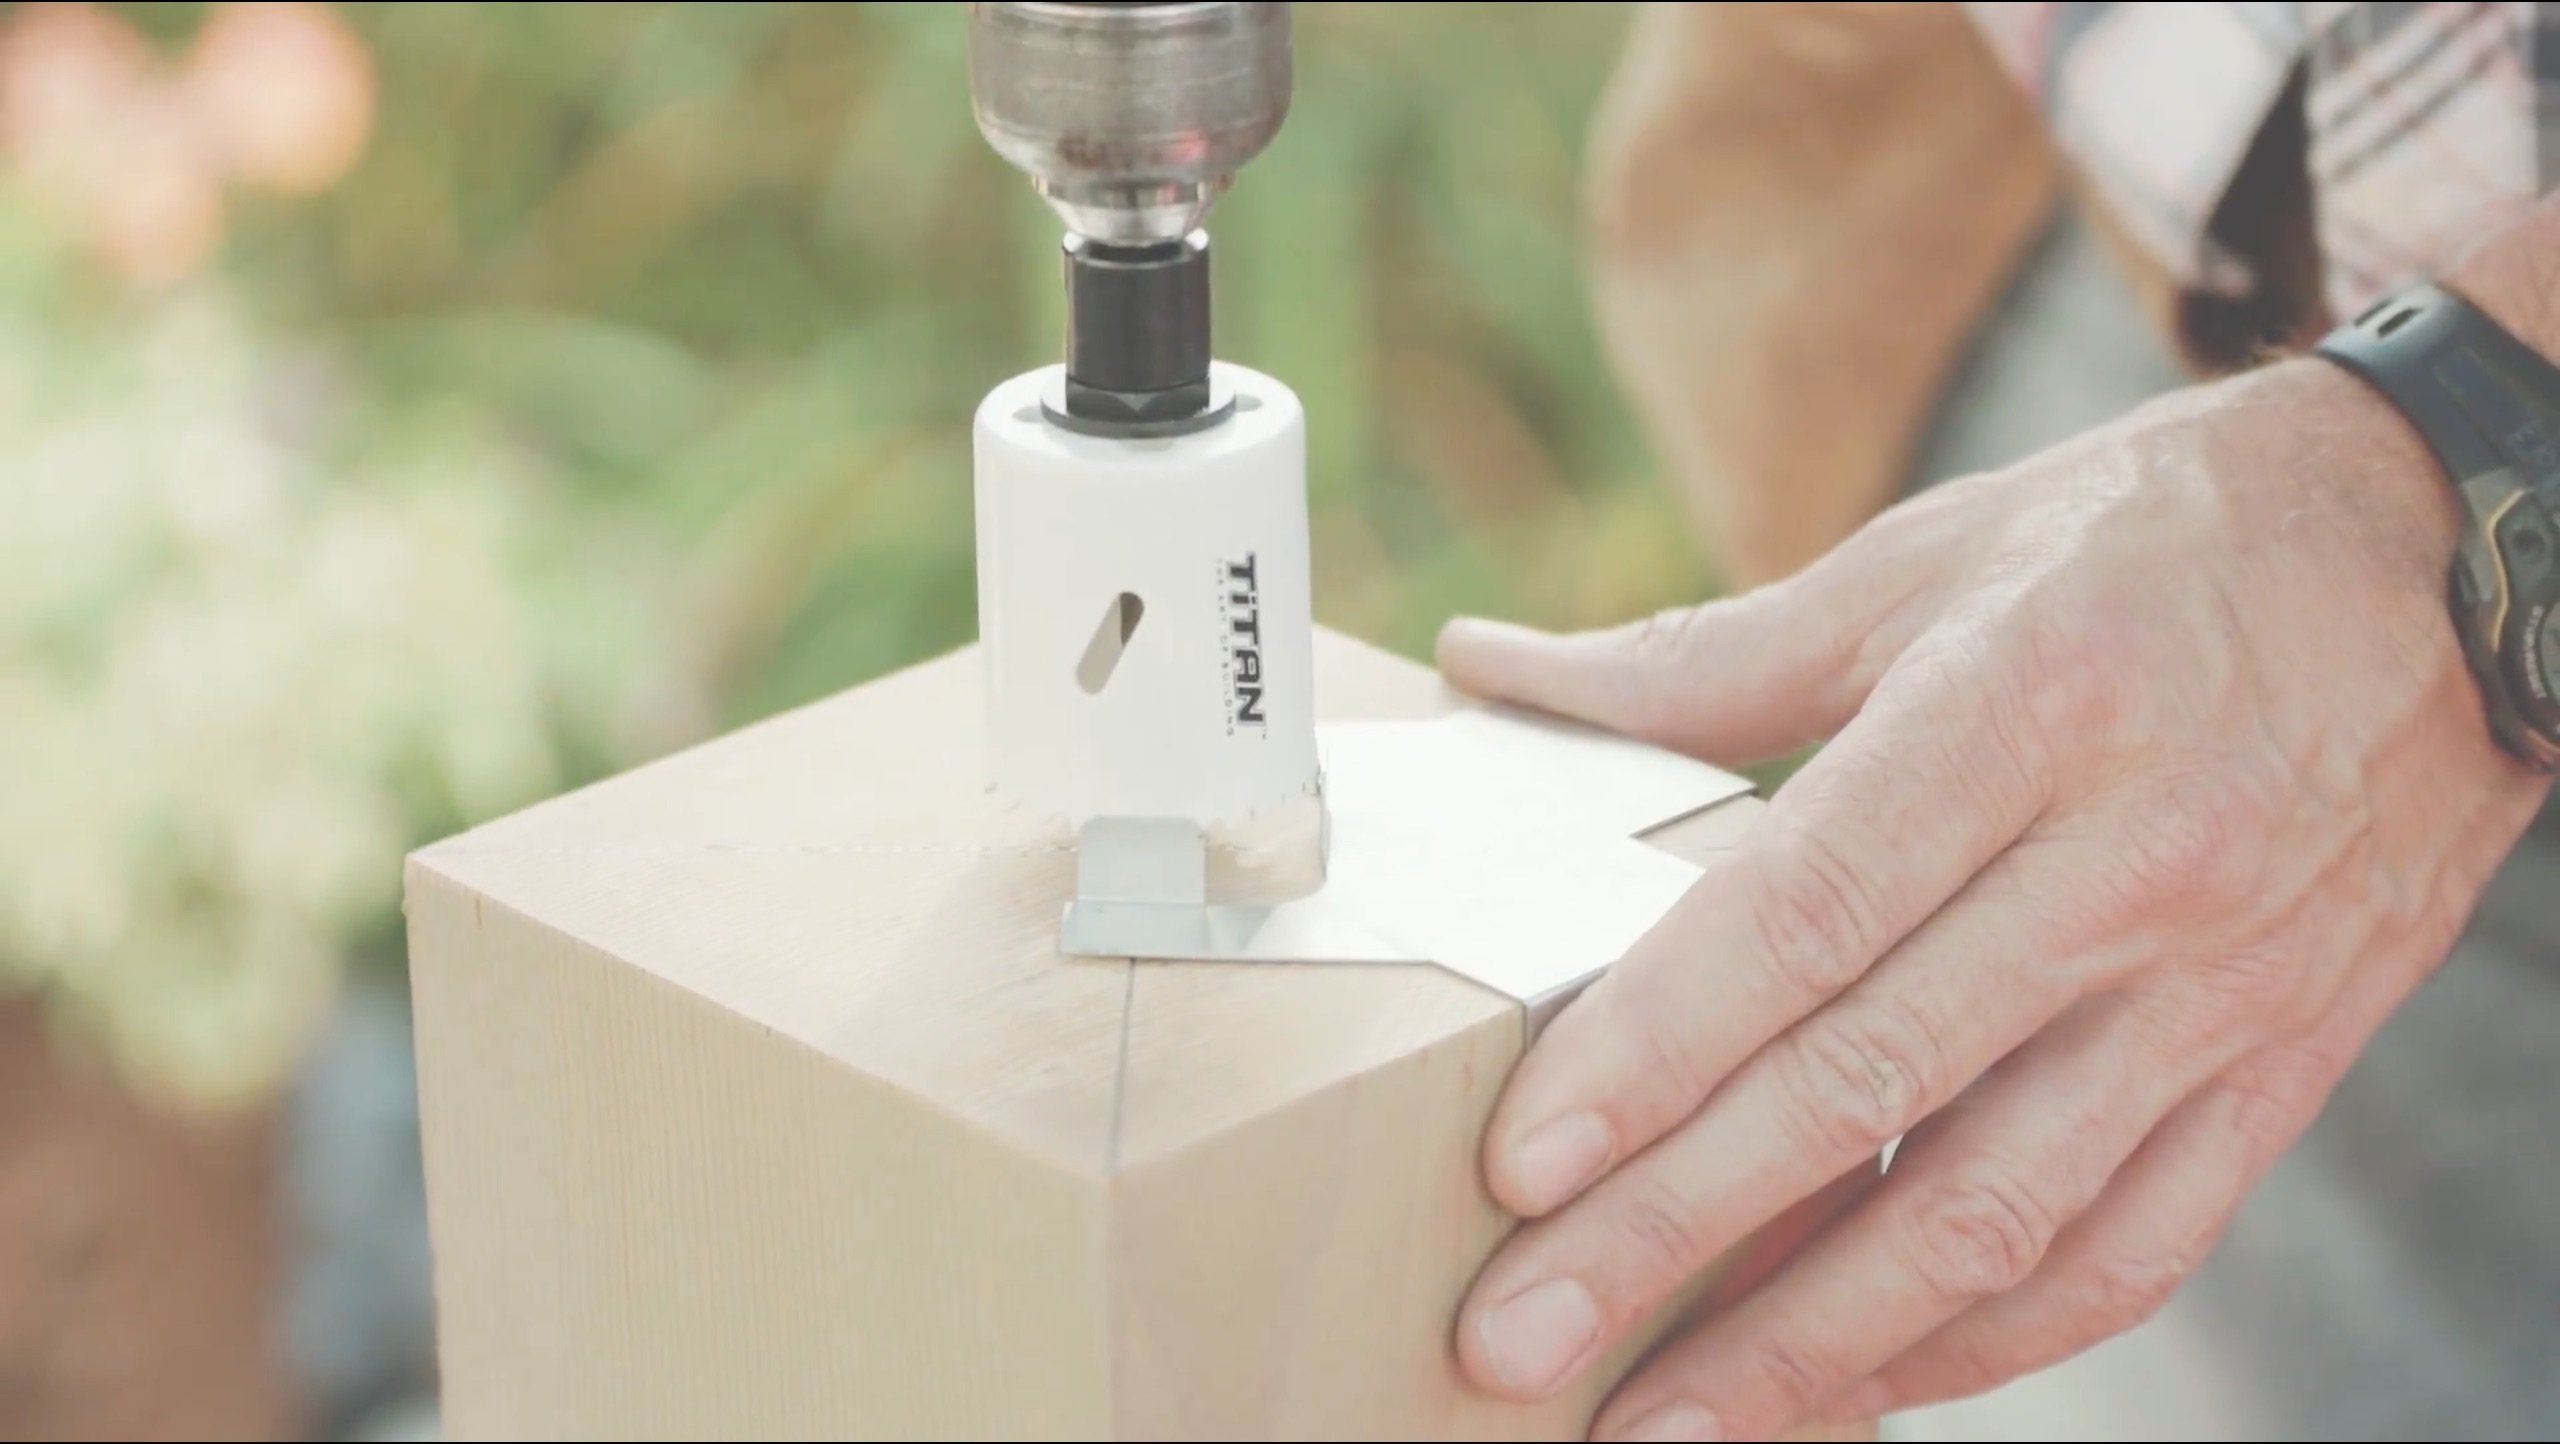
After tensioning the auger against the load plate, the 6"x6" post saddle is adjusted laterally to the correct location. The saddle permits up to 2" of sideways movement. This allows you to have the latitude to align posts with precision to create a square structure. Mel used a 24mm (15/16") socket to tighten the locking nut over the saddle.
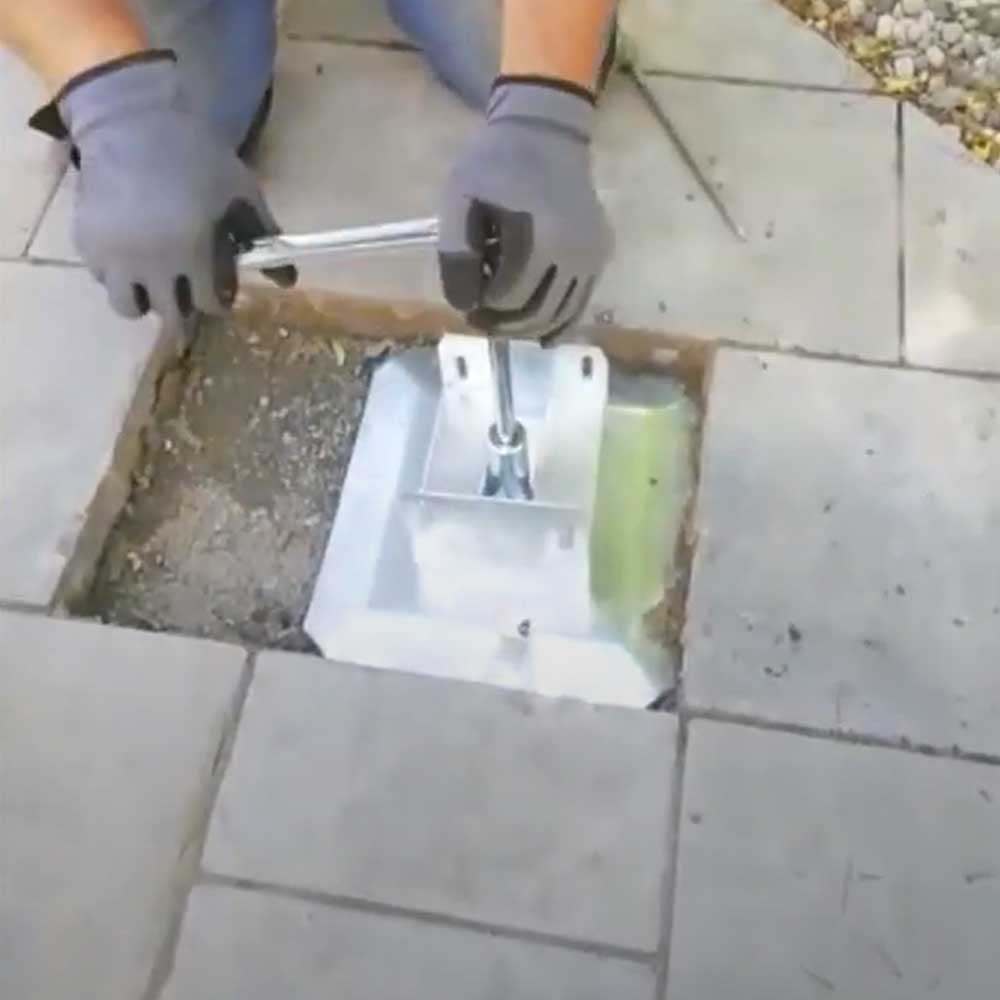 Using a 24mm socket to secure the saddle.
Impact wrench is the fastest

Using an electric ½" drive impact wrench is the easiest way to drive the auger. It can be corded or cordless. The new 20v cordless impact wrenches, particularly the Milwaukee version generate huge torque and a charge that lasts for about a dozen installs.
If you want to go by hand, we sell an inexpensive Auger Tool that attaches to a 2"x4" and all you need is a little elbow grease to turn it into the ground.
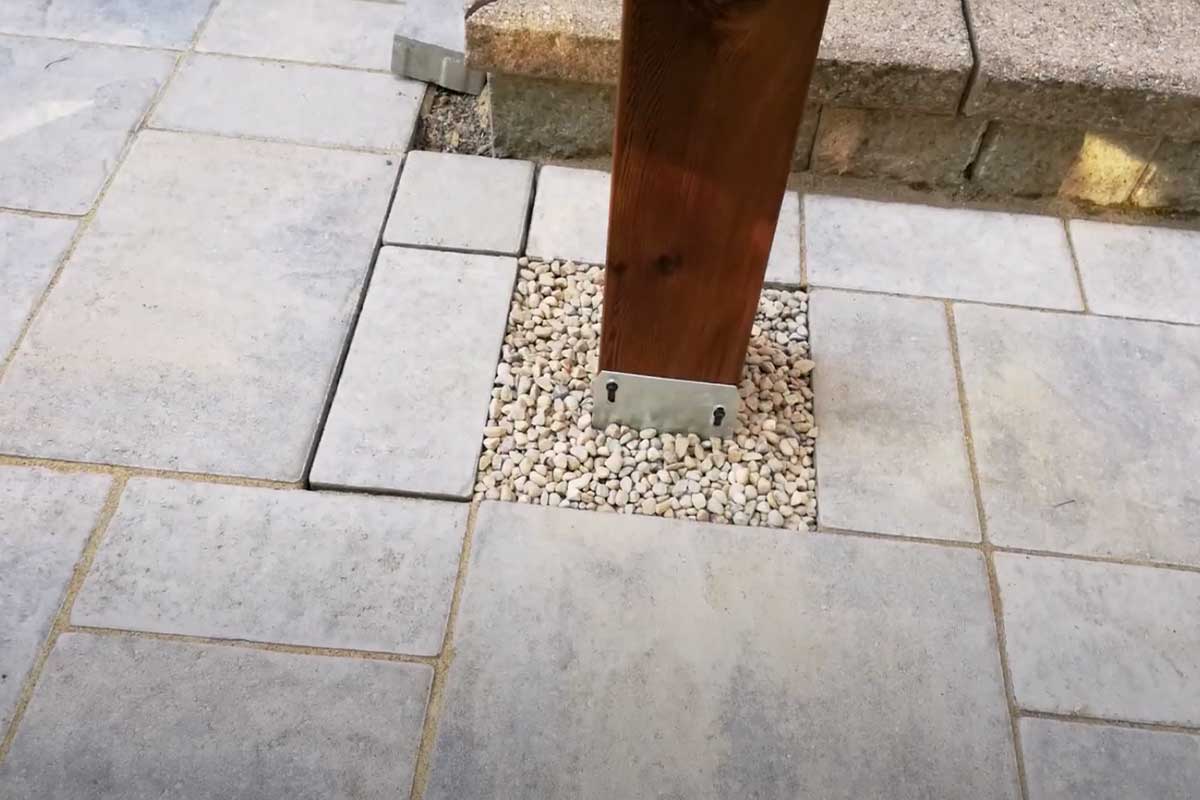
Mel used a washed river rock as back fill over the Deck Foot Anchor plate and it partially covered the base of the post saddle. This is a good choice to make if you are using the convex load plate that rest directly on the soil.
There is a new flat black deck plate that can also be used, and it would rest on top of pavers or asphalt. So only a small paver would need to be removed. The typical option for most folks will be the convex plate fitted within the stones.
Let the build begin!
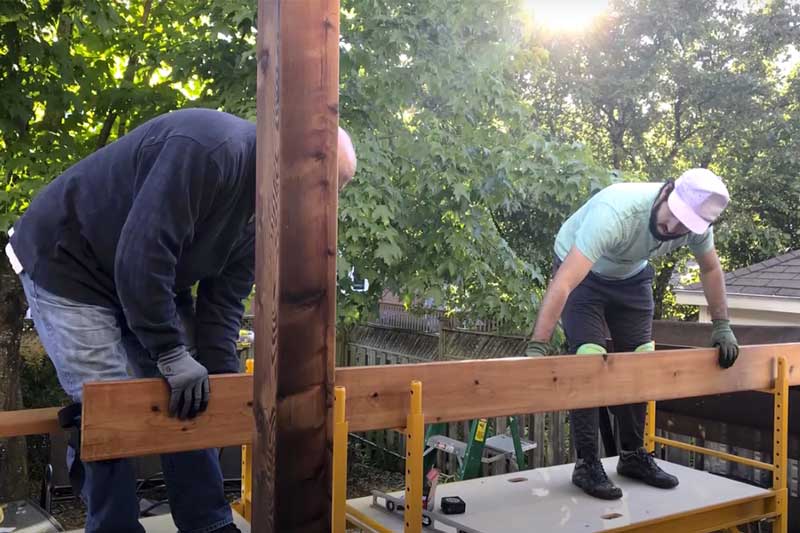
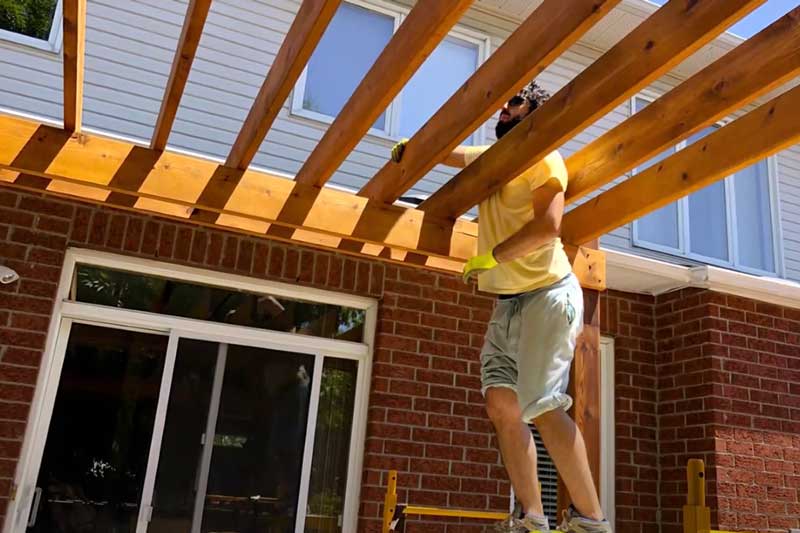
Mel set up a scaffold where he and his son could comfortably work as they positioned and levelled the location of the beams against each post. They used 2"x8" cedar for the beams. All the lumber was stained in the garage before they began building.
This is a great way to do it. Staining lumber once it has been built into the pergola is far more time consuming than setting it up on benches where you can brush or roll on the stain efficiently.
Each rafter (2"x8") location was calculated to be equally spaced from one another across the entire pergola structure.
Taking time to measure the length and getting this right really paid off because the eye can easily detect imbalance and asymmetry.
The last step was to secure flat 2"x4"s across the rafters in a crisscross pattern. This pattern provides more shade and it also makes the structure more rigid and resistant to sheer forces across the pergola. Remember, the Deck Foot Anchor can hold huge compression loads depending on the soil capacity but most of the stiffness of the pergola will come from the pergola construction.
watch MEL Drive The Deck Foot Anchor Down
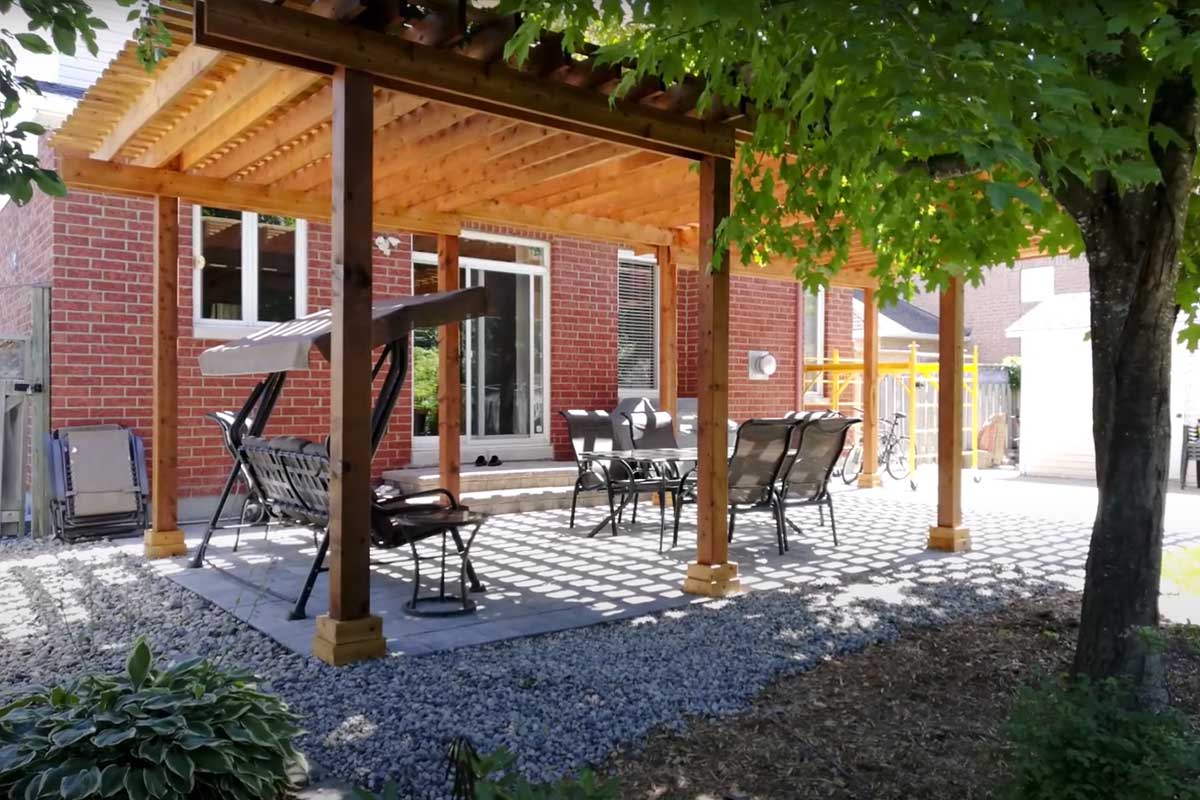
Mel's backyard is now all set for the summer. He has turned a not so inviting space into a beautiful and inviting outdoor room where he can enjoy the company of his family and friends. He has all the shade he needs plus lots of light. Check out Mel in the video below and follow the entire building of his project.
Is your site suitable for the deck foot anchor?
Now, one last word of advice, because we never want to guide anyone down the wrong path. If you think you want to use the deck foot anchor for a pergola like the one Mel built and you are worried that you might have poor soil (full of rocks) we recommend you test your soil first.
Here's How to Test Your Soil
Take a piece of re-bar and drive it down into your soil in a few spots and see if it goes down easy or if it hits a rock. Use a sledgehammer and then pull it out by hand. Yes, it is a bit of work but best to know your soil type as it will impact your planning.
You can also buy one of our single augers and test it before proceeding.
A project like this is within your reach
We feature real customers that place their confidence in our products. Mel used the Deck Foot Anchor and took the time to contact us to tell us about his experience. Hopefully, this case study has been helpful to you.
Feeling excited? You should be because with the suite of Titan Building Products have been designed to specifically support DIYers and to make projects like this one within reach. Thanks for sticking with us. Now go get started on your own project! Maybe we will feature your project next :)

The Deck Foot Anchor™ is a DecksGo Recommended Product. It's one that we are confident you will be happy with. It's been tested in some of the harshest cold and sweltering heat temperatures and it has proven to be as tough as nails.
DecksGo was the first company to bring this product to the market, and you can expect more great "first" moments like this.
This is what we do - try to bring you leading edge building solutions before anyone else.
- Home
- Deck Building Forum
- Deck Foot Forum
- Building a Pergola In The Backyard
